Get Started Guide#
Time to Complete: 5 - 15 minutes
Programming Language: Python 3
Get Started#
Prerequisites#
Ensure that the following installations are present.
unzip. It can be installed using
sudo apt-get install unzipOS
Python
Ubuntu 22.04
3.10
Step 1: Install the Microservice#
Select Configure & Download to download the microservice and then follow the steps below to install it
Open a new terminal, go to the downloaded folder, and unzip the downloaded package:
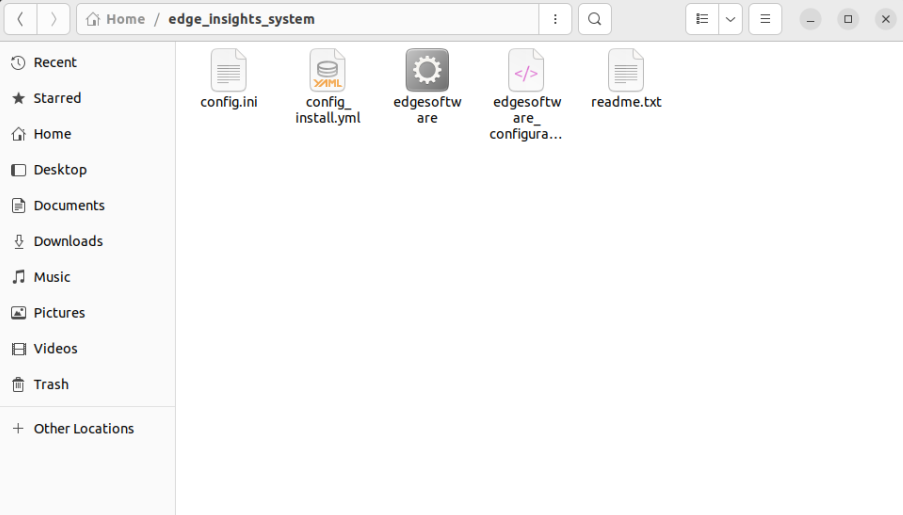
unzip intel_edge_data_collection.zipAfter extracting the package, you can view the following files:
Configure your installation by editing
config_install.ymlwith the below detailsKey
Value and Description
etcdroot_password
The etcdroot_password length must be a minimum of 10 characters and should contain alphanumeric characters with atleast one digit.
influxdb_username
The influxdb_username length must be a minimum of 5 characters and should contain alphanumeric characters with atleast one digit. Do not use the following special characters “~:’+[/@^{%(-“*
influxdb_password
The influxdb_password length must be a minimum of 10 characters and should contain alphanumeric characters with atleast one digit. Do not use the following special characters “~:’+[/@^{%(-“*
minio_access_key
The minio_access_key length must be a minimum of 5 characters and should contain alphanumeric characters with atleast one digit.
minio_secret_key
The minio_secret_key length must be a minimum of 10 characters and should contain alphanumeric characters with atleast one digit.
visualizer_grafana_user
The visualizer_grafana_user length must be a minimum of 5 characters and should contain alphanumeric characters with atleast one digit.
visualizer_grafana_password
The visualizer_grafana_password length must be a minimum of 10 characters and should contain alphanumeric characters with atleast one digit.
cvat_superuser_password
cvat_superuser_password length must be a minimum of 9 characters (alphanumerics). Do not use commonly used passwords. Do not use any special characters in your password. Ensure that the password is not entirely numeric. More on the rules to be followed for successful password creation is here
Go to the intel_edge_data_collection/ directory:
cd intel_edge_data_collection
Change permission of the executable edgesoftware file:
chmod 755 edgesoftware
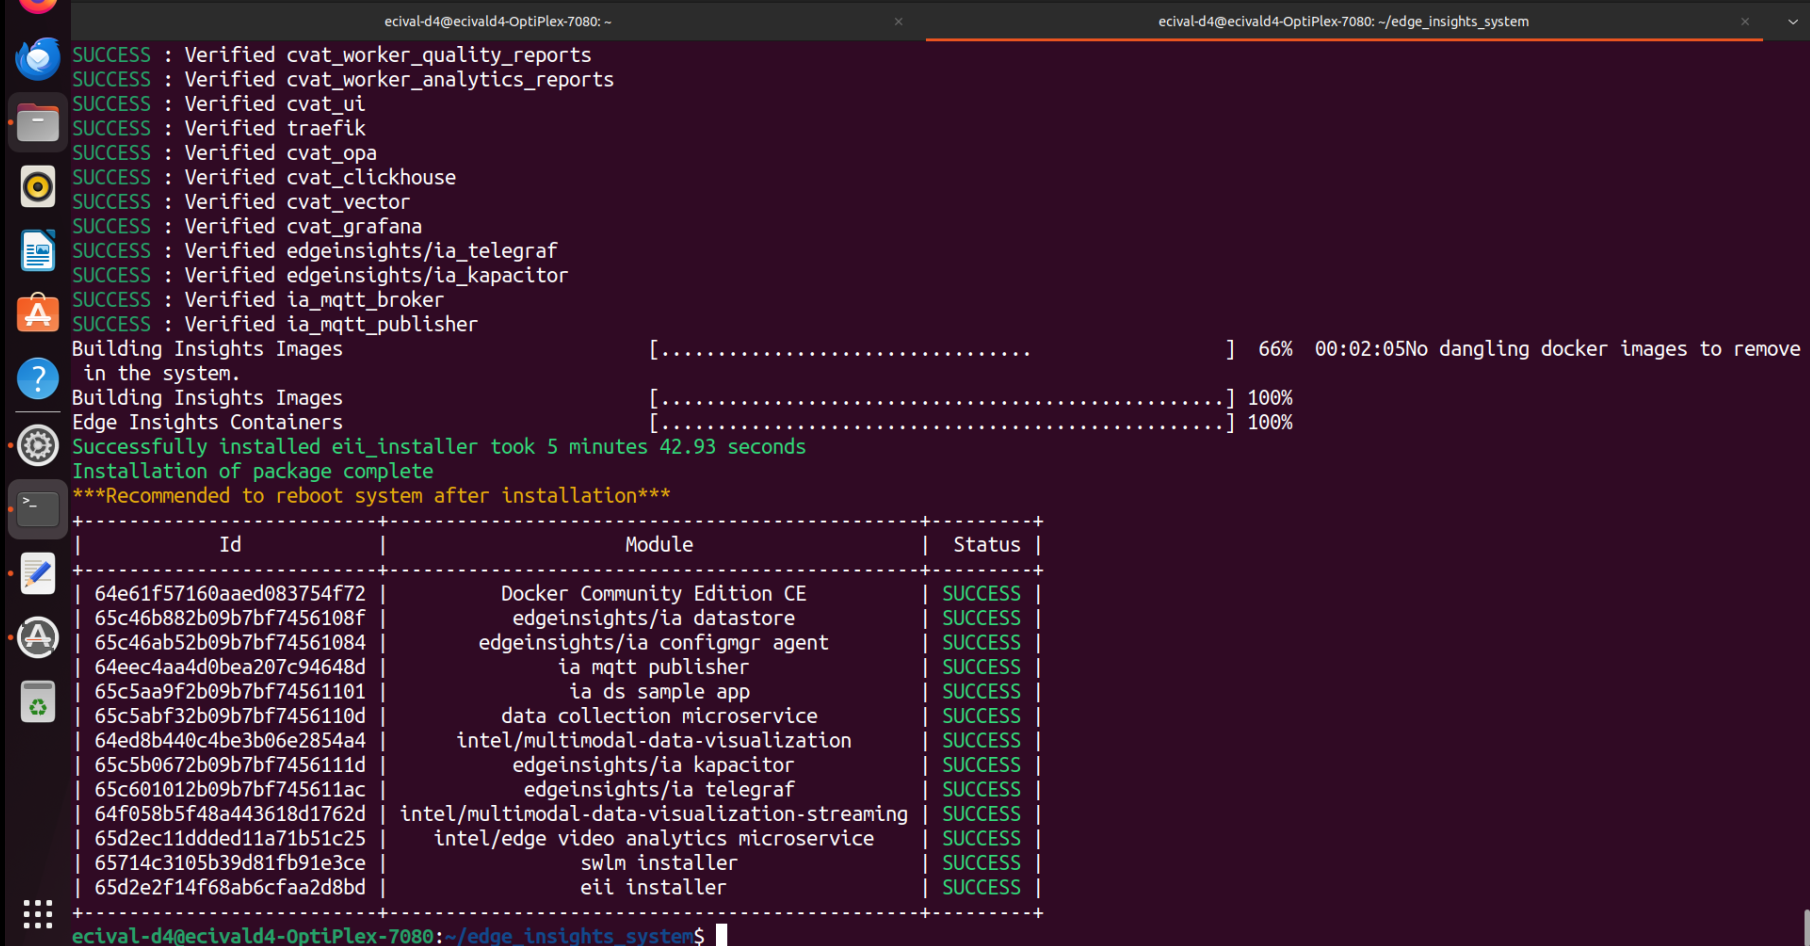
Install the microservice:
./edgesoftware installWhen prompted for the product key, enter the Product Key mentioned in the email you received from Intel confirming your download.
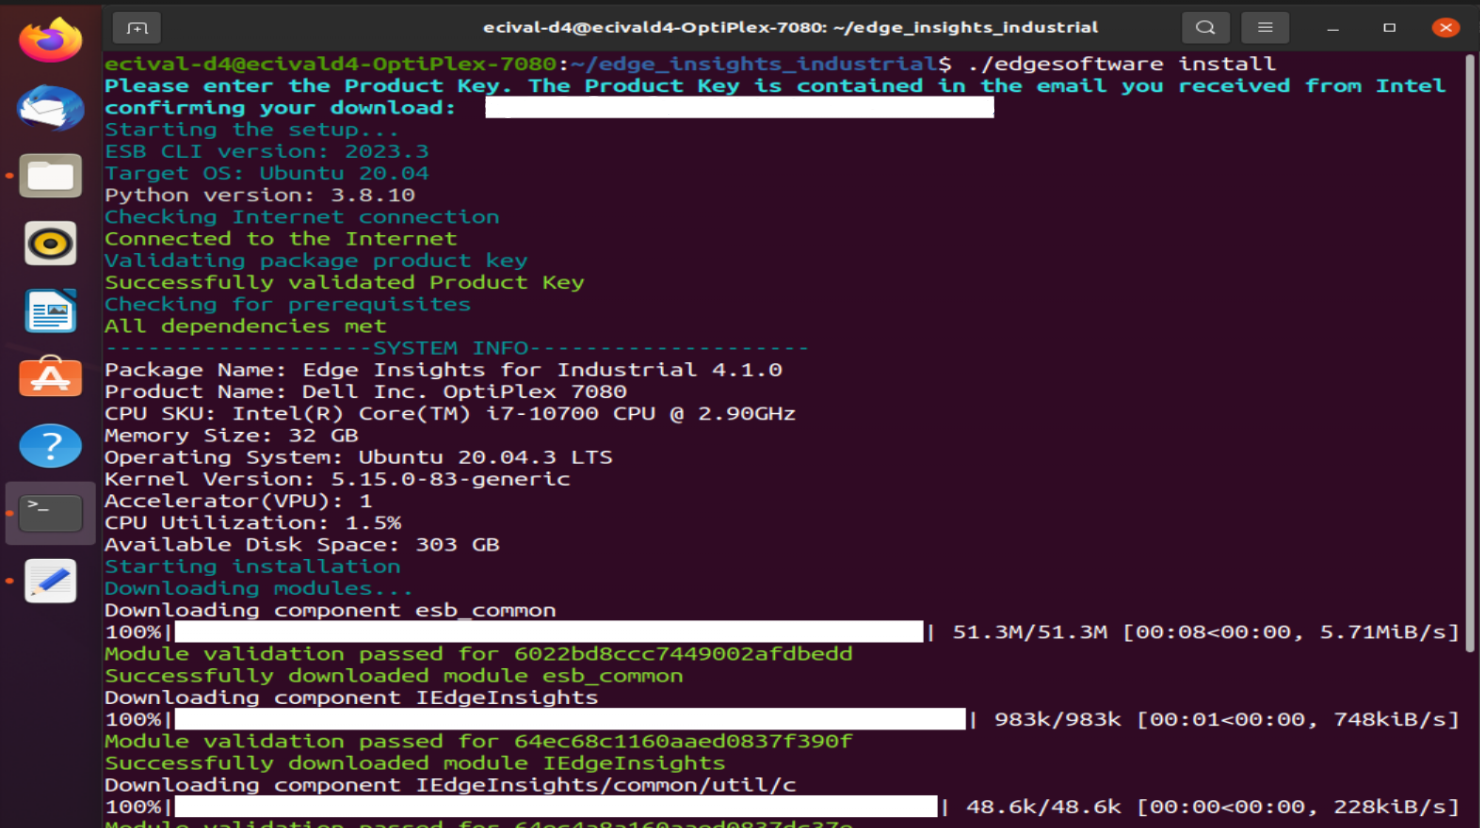
When the installation is complete, check for the “Installation of package complete” message and the installation status for each module.
Update
CVAT_HOSTin the fileintel_edge_data_collection/Intel_Edge_Data_Collection_1.2.0/IEdgeInsights/build/.envwith the IP address of the host machine if it is connected to an external network, or else if the system is not connected to an external network, update it with the docker system host IP that can be obtained from the commanddocker network inspect bridge -f '{{range .IPAM.Config}}{{.Gateway}}{{end}}'which is generally found to be 172.17.0.1
Step 2: Run the application with Intel® Edge Data Collection microservice#
Builder (builder.py) that exists inside
intel_edge_data_collection/Intel_Edge_Data_Collection_1.2.0/IEdgeInsights/build/directory, uses a yml file for building your application configuration. The config yml file consists of a list of services to include. You can mention the service name as the path relative to IEdgeInsights or full path to the service in the config yml file. To include only a certain number of services in the stack, you can add the -f or yml_file flag of builder.py.python3 builder.py -f usecases/video-streaming-datastore-dcaas.yml
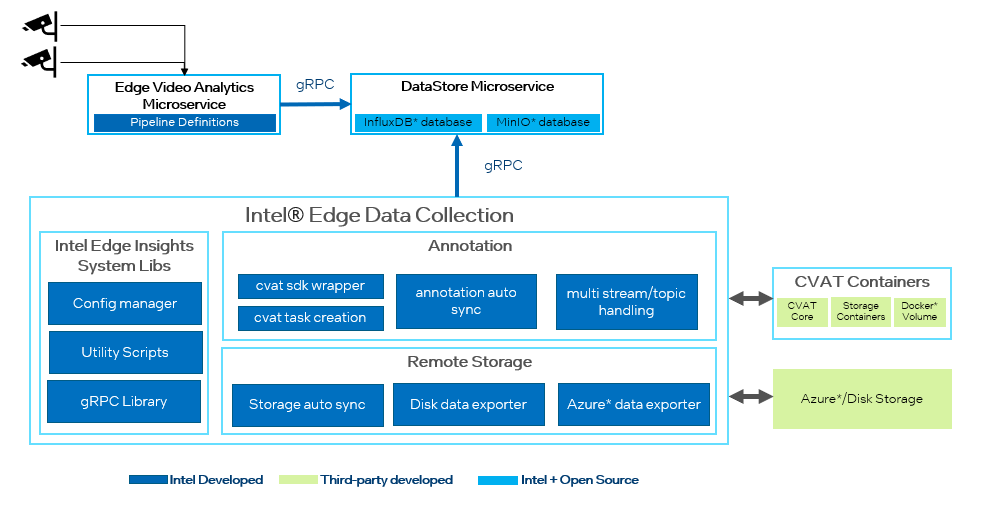
The above usecase yml file depicts the deployment view which uses the Edge Video Analytics Microservice to feed the images from the camera. The Data Store microservice serves as the database. Intel® Edge Data Collection microservice interacts with the mentioned microservices to realize the desired workflow as seen in the below figure.
Run the application
./run.sh
Stop the application
docker compose down -v
Test the Microservice#
In order to test that the microservice is working fine with no errors, check Intel® Edge Data Collection container logs
Run
docker logs ia_data_collection_microservice --follow
Summary#
In this get started guide, you learned how to download, configure, build and run the services.
Learn More#
Follow step-by-step examples to become familiar with the core functionality of the microservice, in Tutorials.
Understand the components, services, architecture, and data flow, in the Overview.
Error Logs#
To check Intel® Edge Data Collection container logs
Run
docker logs ia_data_collection_microservice --follow
To verify that the corresponding image meta-data (ex: human annotation) is being saved properly in the local database:
docker exec -it ia-datastore /bin/bash

influx -precision rfc3339 -database datain -username <INFLUXDB_USERNAME_provided_in_.env_file> -password <INFLUXDB_PASSWORD_provided_in_.env_file> -ssl -unsafeSsl

select * from edge_video_analytics_results # Or any desired influx query that helps validate your use case.
Known Issues#
If installation fails while downloading or while pulling the images from the Intel registry, re-run the installation and provide the Product Key:
./edgesoftware install
In case you log out of CVAT in the browser, please log back in and restart the Intel® Edge Data Collection container in-order to re-establish its connection with CVAT.
Google Chrome is the only browser that is supported by CVAT. For more details, see link
In case of a fatal error in Intel® Edge Data Collection, there is no guarantee of successful completion of remote data backup.