Get Started Guide#
Time to Complete: 1 hour
Programming Language: Golang*
Get Started#
Prerequisites#
System Requirement |
Details |
|---|---|
Processor |
11th Generation Intel® Core™ processor or above with Intel® HD Graphics, or Intel® Xeon® processor |
RAM |
Minimum 16 GB |
Hard Drive |
Minimum 64 GB; 128 GB recommended. |
Operating System |
Ubuntu* 22.04 |
Docker* Platform |
Version 24.0.72 and above |
Installation from the installer package downloaded#
This section provides information for the following:
Prepare your target system.
Copy the Intel® Data Store package.
Complete the installation steps.
Step 1: Prepare the Target System#
Ensure that the target system has a fresh installation of Ubuntu* Linux. The Ubuntu* Linux version should correspond to the version of Intel® Data Store Package that you downloaded.
If you need help with installing Ubuntu* Linux, follow these steps:
Download
Ubuntu\* Linux\* Desktop ISO file <https://ubuntu.com/download/desktop>__ to your developer workstation.Use an imaging application to create a bootable flash drive.
Turn off the target system, insert the USB flash drive, and power on the system.
If the target system doesn’t boot from the USB flash drive, change the boot priority in the system BIOS.
Follow the prompts to install Ubuntu* Linux with the default configurations. For detailed instructions, see the
Ubuntu guide <https://ubuntu.com/tutorials/tutorial-install-ubuntu-desktop#1-overview>__.Power down your target system and remove the USB drive.
Power up the target system. You will see Ubuntu* Linux is successfully installed.
Step 2: Download and Copy the Intel® Data Store.zip File to the Target System#
In this step, you download the Intel® Data Store package and copy Intel® Data Store Package to your target system.
Open page Intel® Data Store package from browser.
You will see the request access button at the top which needs to be clicked.
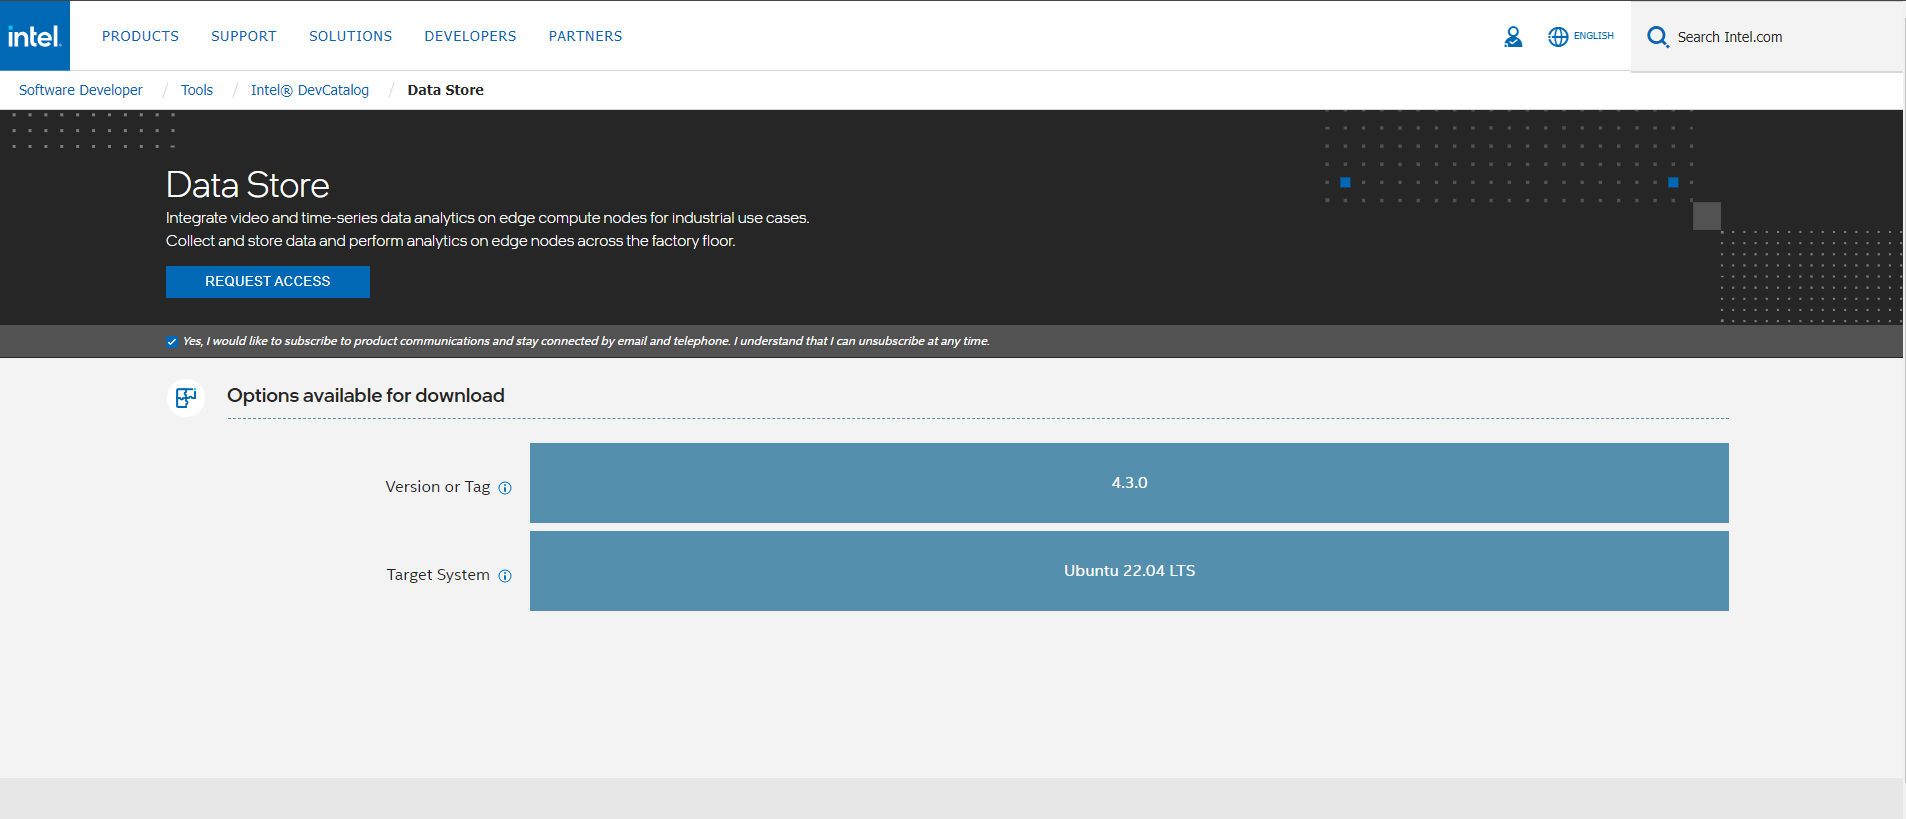
You will receive email when you click on the
Request Accessoption.Once the access request gets approved, you will receive mail having the Product key to download the package.
Download the Intel® Data Store package.
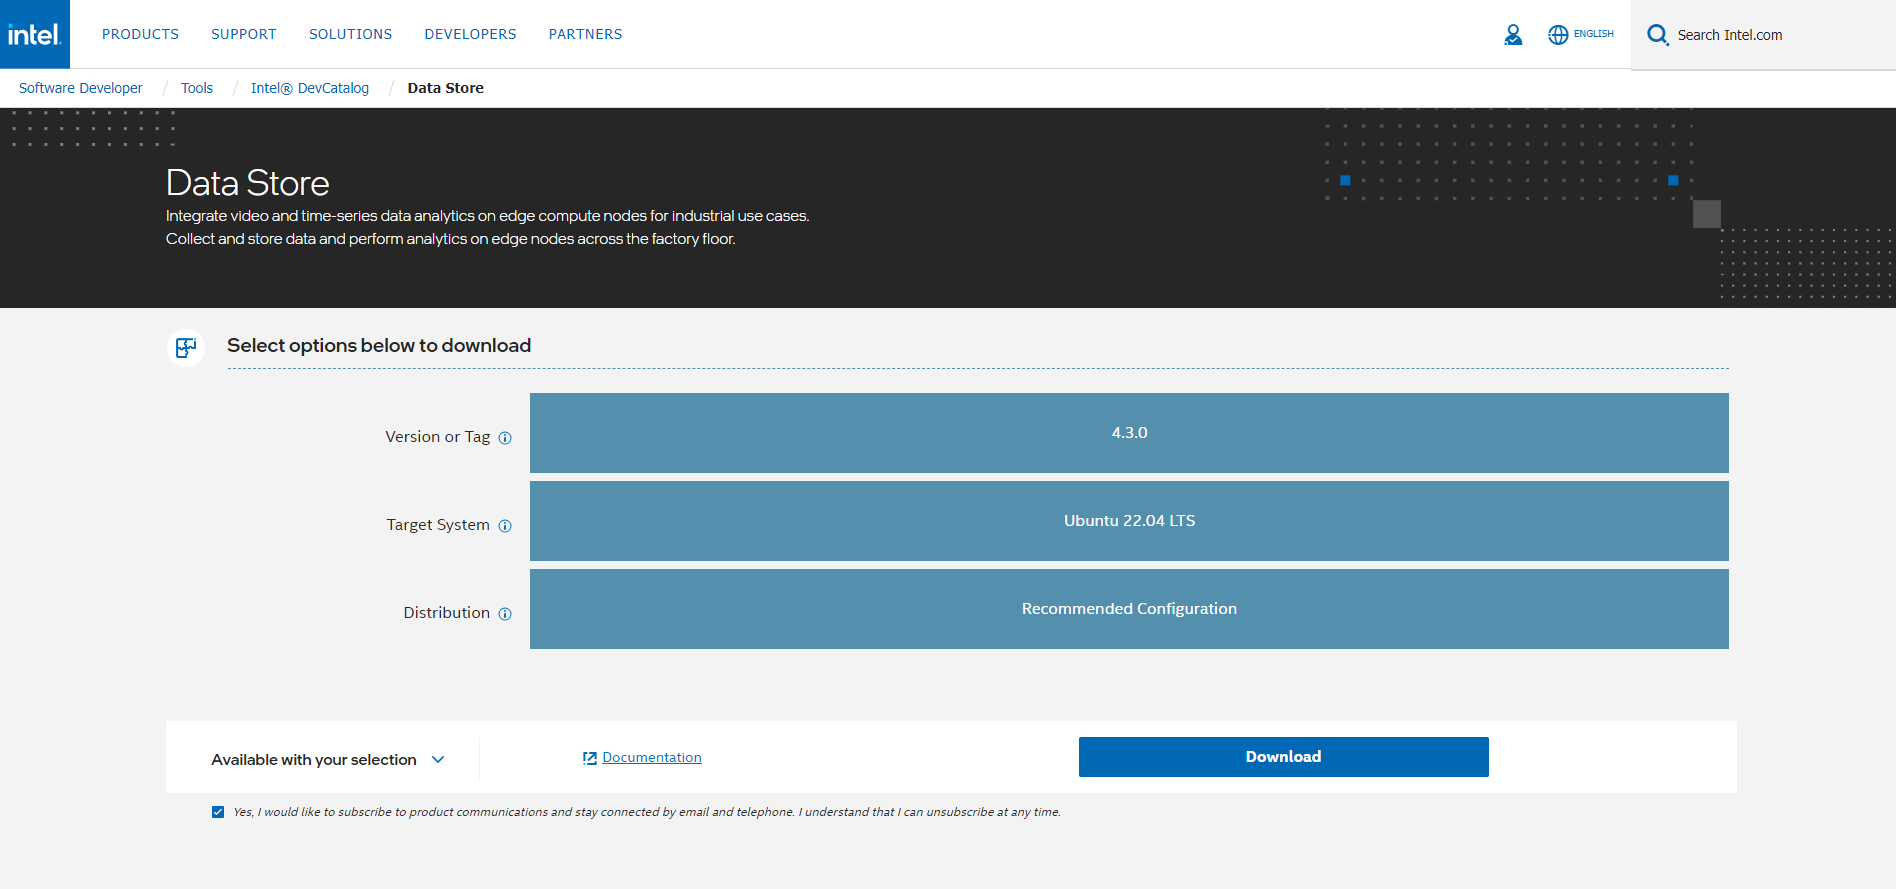
Copy
data_store.zipfrom the developer workstation to the Home directory on your target system. You can use a USB flash drive to copy the file. The icon looks like this: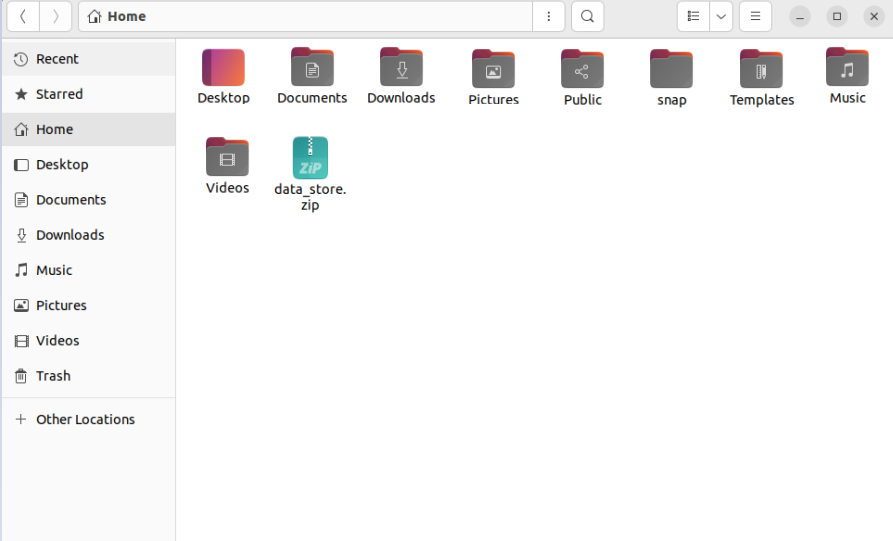
Step 3: Extract the Intel® Data Store Package Software#
In this step you extract the data_store.zip file. You need to be on the target system to complete the following steps:
Ensure that you have a working internet connection.
Open a new terminal.
Extract the package:
unzip data_store.zip
NOTE:
If you download the file more than once, each download beyond the first is appended by a number.
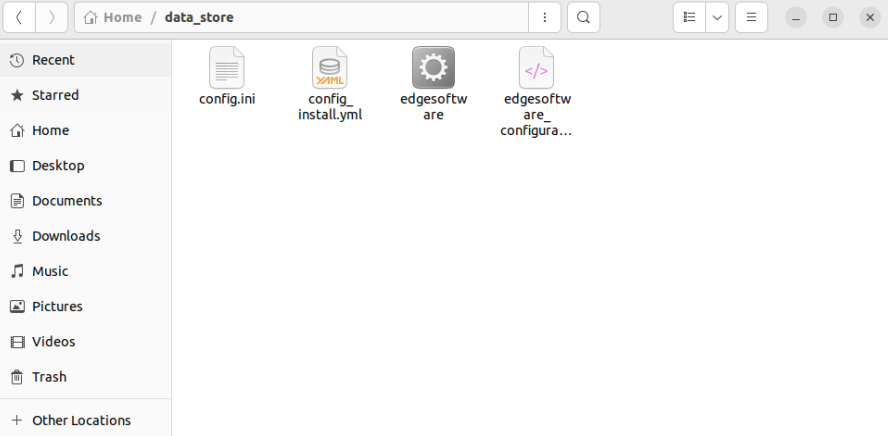
After extracting the package, you can view the following files:
Step 4: Configure your Installation#
The config_install.yml contains information about the modules to install. You can modify this file and configure the installation behavior of the
components in your target system.
NOTE: - This is step is mandatory for Intel® Data Store Package installation. - Ensure that you update the
etcd root_password, influxdb_username, influxdb_password, minio_access_keyandminio_secret_keyas this is required for the Intel® Data Store Package installation.
Based on your requirements, modify the
config_install.ymlfile. For more information, refer to the following table:
Key |
Value and Description |
|---|---|
remove_previous_eii |
Set this key value as true to remove any existing containers of Intel® Edge Insights System from the previous installation. |
etcd root_password |
This key’s value updates the etcdroot password credential. |
influxdb_username |
If the downloaded edgesoftware_configuration.xml file contains the DataStore module, then you must set the username credential value. Do not use the following special characters in the influxdb_username “~:’+[/@^{%(-“*|,&<`}._=}!>;?#$)” |
influxdb_password |
If the downloaded edgesoftware_configuration.xml file contains the DataStore module, then you must set the password credential value. Do not use the following special characters in the influxdb_password “~:’+[/@^{%(-“*|,&<`}._=}!>;?#$)” |
minio_access_key |
If the downloaded edgesoftware_configuration.xml file contains the DataStore module, then you must set the value for the access key credential. Note that the minio_access_key length must be a minimum of 8 characters. |
minio_secret_key |
If the downloaded edgesoftware_configuration.xml file contains the DataStore module, then you must set the value for the secret key credential. Note that the minio_secret_key length must be a minimum of 8 characters. |
visualizer_grafana_user |
If the downloaded edgesoftware_configuration.xml file contains the Visualizer module, then you must set the value for the grafana user name. Note that the visualizer_grafana_user length must be a minimum of 8 characters. |
visualizer_grafana_password |
If the downloaded edgesoftware_configuration.xml file contains the Visualizer module, then you must set the password credential value. Do not use the following special characters in the visualizer_grafana_password “~:’+[/@^{%(-“*|,&<`}._=}!>;?#$)” |
To configure Intel® Data Store Package, you can customize the working environment variables in the .env file. The .env file is in the [WORK_DIR]/$HOME/Data_Store/Data_Store_<version>/IEdgeInsights/build folder.
You can ignore configuring the following keys in the
config_install.yml
Key |
|---|
cvat_superuser_password |
keycloak_admin_password |
Step 5: Install the Intel® Data Store Package Software#
NOTE:
If you are using a proxy server, then ensure that the proxy settings are configured correctly. The edgesoftware tool uses the proxy settings to download and install the modules.
The software installation can take 1 to 3 hours depending on the package you chose. The completion time depends on your target system configuration and the speed of the Internet connection.
If you encounter any Docker* pull-related issues during the installation process, refer to the
Troubleshooting <#troubleshooting>__ section.
You will now run a script to download components and install Intel® Data Store Package on your target system. Complete the following:
Run the following commands:
   cd Data_Store/
   chmod 775 edgesoftware
   ./edgesoftware install
NOTE:
Ensure valid parameters added in
config_install.ymlfile prior running the command./edgesoftware install.If
./edgesoftware installcommand fails because of not being able to pull the container image, please retry by re-running thesudo ./edgesoftware installcommand. Once the installation is successful, please run command:sudo chown -R $USER:$USER Data_Store_<version>to update the file ownership to the current user and please reboot the system once to activate the current user addition to docker group.
At the command prompt, enter the Product Key.
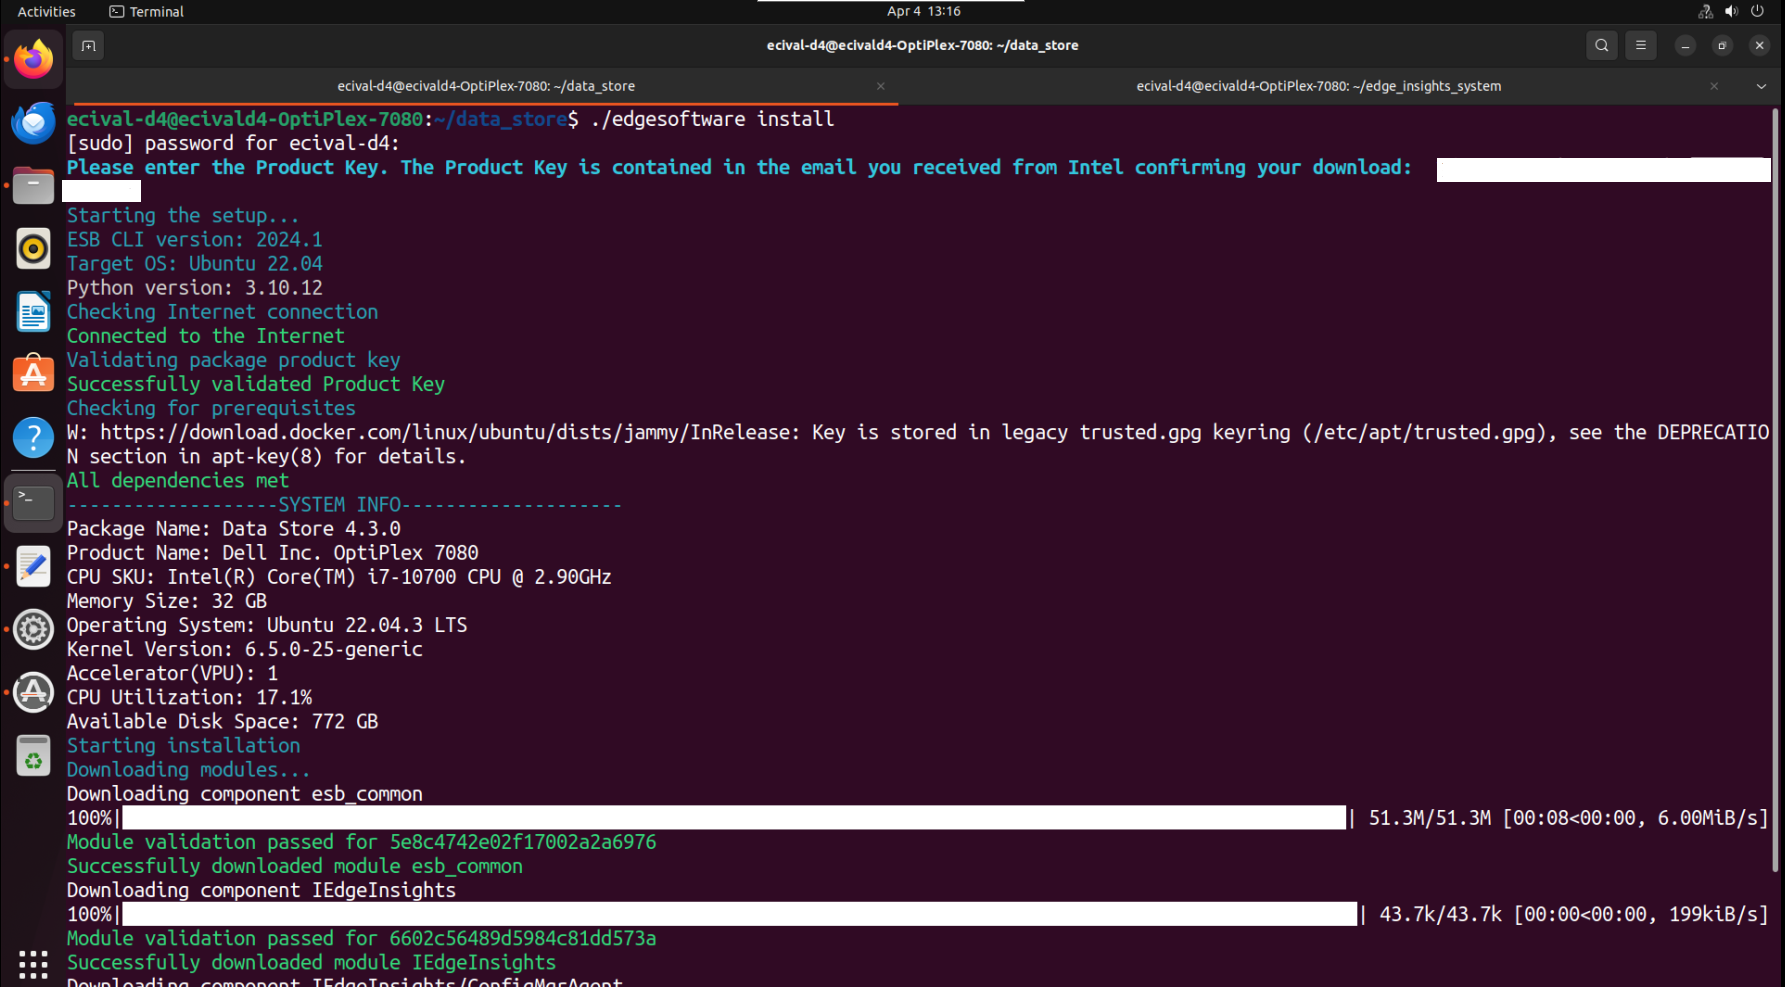
NOTE: Ensure to enter the valid Product key that you have received in the email.
Based on components selected and system configuration, you might be
prompted for additional actions if you have not configured the
config_install.yml file correctly.
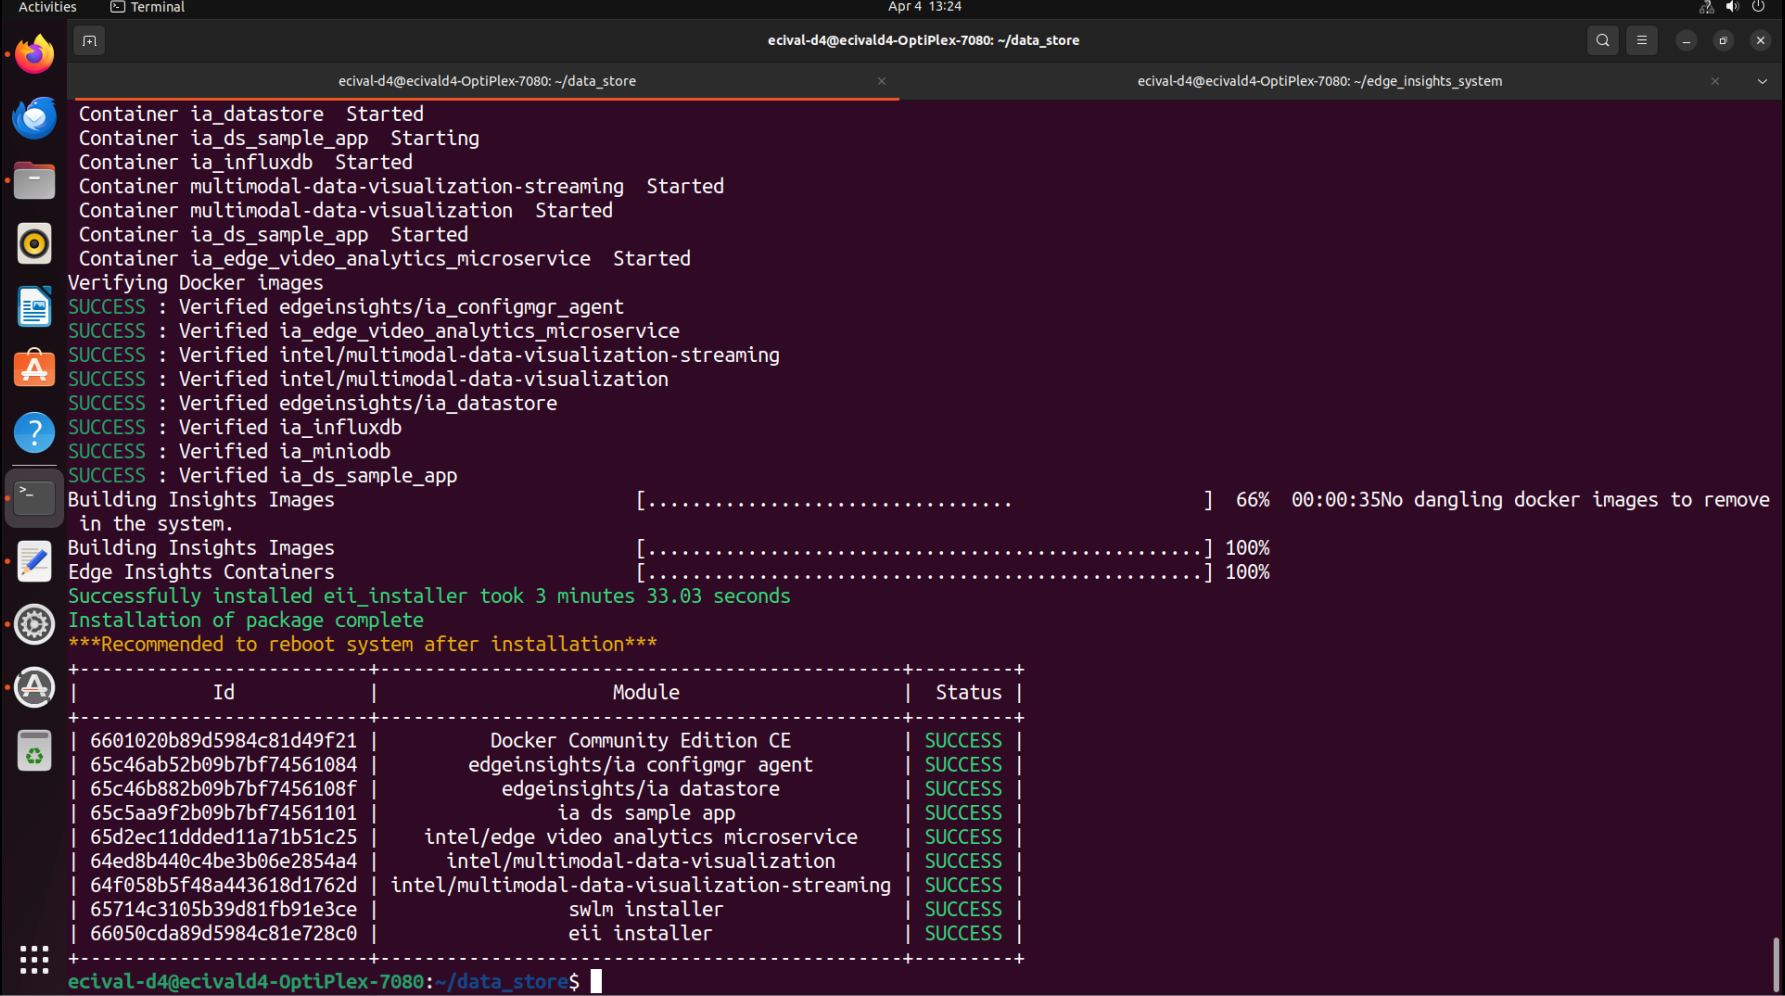
When the installation is complete, you see the
Installation of package complete message and the installation status for
each module. Refer to the following screenshot:
Step 6: Verifying the Intel® Data Store Package by checking the visualization#
NOTE: Skip this section, if you are running Intel® Data Store Package in the DEV mode, the Visualizer is accessible at
http://<HOST_IP>:3000
To import root cert in Visualizer, import cacert.pem from the build/Certificates/rootca/ directory to the browser certificates. Complete the following steps to import certificates:
In Chrome browser, go to Settings.
In Search settings, enter Manage certificates.
In Privacy and security, click Security.
On the Advanced section, click Manage certificates.
On the Certificates window, click the Trusted Root Certification Authorities tab.
Click Import.
On the Certificate Import Wizard, click Next.
Click Browse.
Go to the
IEdgeInsights/build/Certificates/rootca/directory.Select the cacert.pem file, and provide the necessary permissions, if required.
Select all checkboxes and then, click Import.
Step 7: How to use Visualizer’s Grafana#
Complete the following steps to use Visualizer’s Grafana:
Use root as the Username and eii123 as the Password both for first login, password can be changed if required when prompted after logging in.
On the Home Dashboard page, on the left corner, click the Dashboards icon.
Click the Manage Dashboards tab, to view the list of all the preconfigured dashboards.
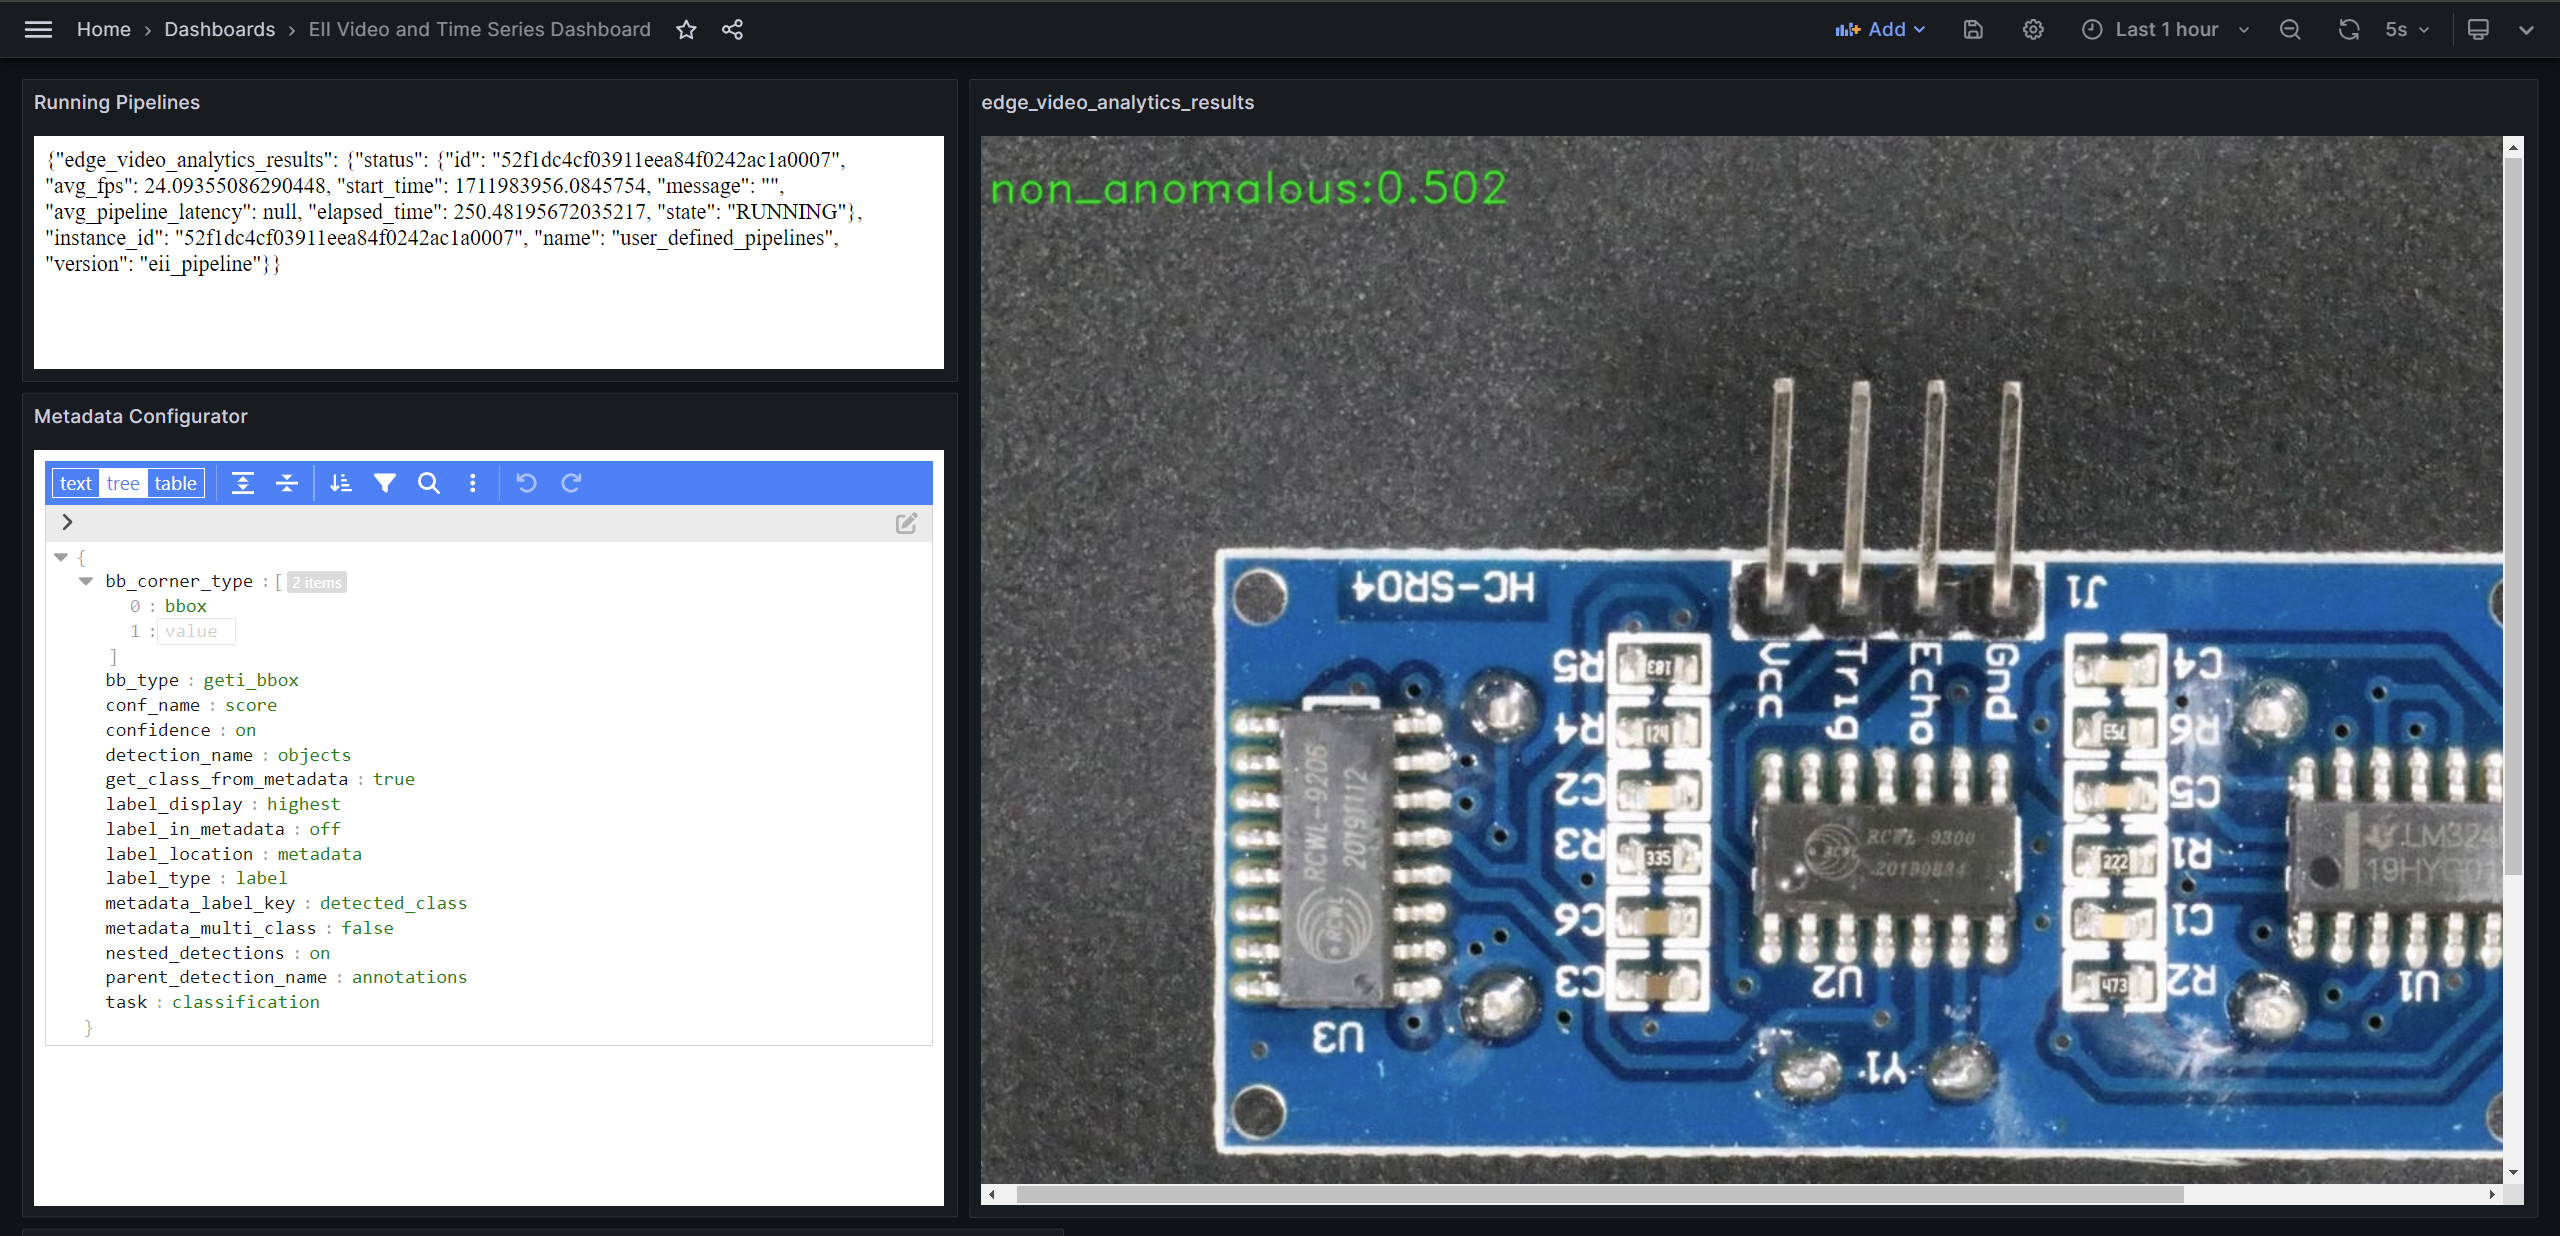
Select EII Video and Time Series Dashboard, to view multiple panels with topic names of the subscriber as the panel names along with a time-series panel named
Time Series.Hover over the topic name. The panel title will display multiple options.
Click View to view the subscribed frames for each topic.
NOTE:
If you are launching Grafana from a different node then video streaming panel might not stream the video. Follow these steps to access
visualizer from a different node <advanced-guide.html#accessing-visualizer-from-other-node>__.You will see the below output for video use case.
Summary#
In this get started guide, you learned how to build and run the Data Store microservice.
Learn More#
Troubleshooting#
If the Data Store microservice has not started or is not functioning as expected, check the logs of the microservice as follows.
Error Logs#
To see the error logs, run the following command from the host system terminal:
docker logs -f ia-datastore
To filter the error logs, run the following command:
docker logs -f ia-datastore | grep -i error
Known Issues#
None