Get Started Guide#
The Metro AI Suite Test Module and the Intel® ESDQ CLI tool are installed as part of the Metro AI Suite Device Qualification Tool.
NOTE: The screenshots may show a package version number different from the current release.
Prerequisite#
Perform a clean installation of Ubuntu* 24.04.1 LTS or higher on the target system (For Core and Core Ultra platform, Ubuntu 24.04.2 LTS is preferred, for Xeon platform, Ubuntu 24.04.2 LTS Server is preferred).
Download and Install Intel® ESDQ for Metro AI Suite Device Qualification Tool#
Click SignIn and Select Download to download the Metro AI Suite Device Qualification Tool package.
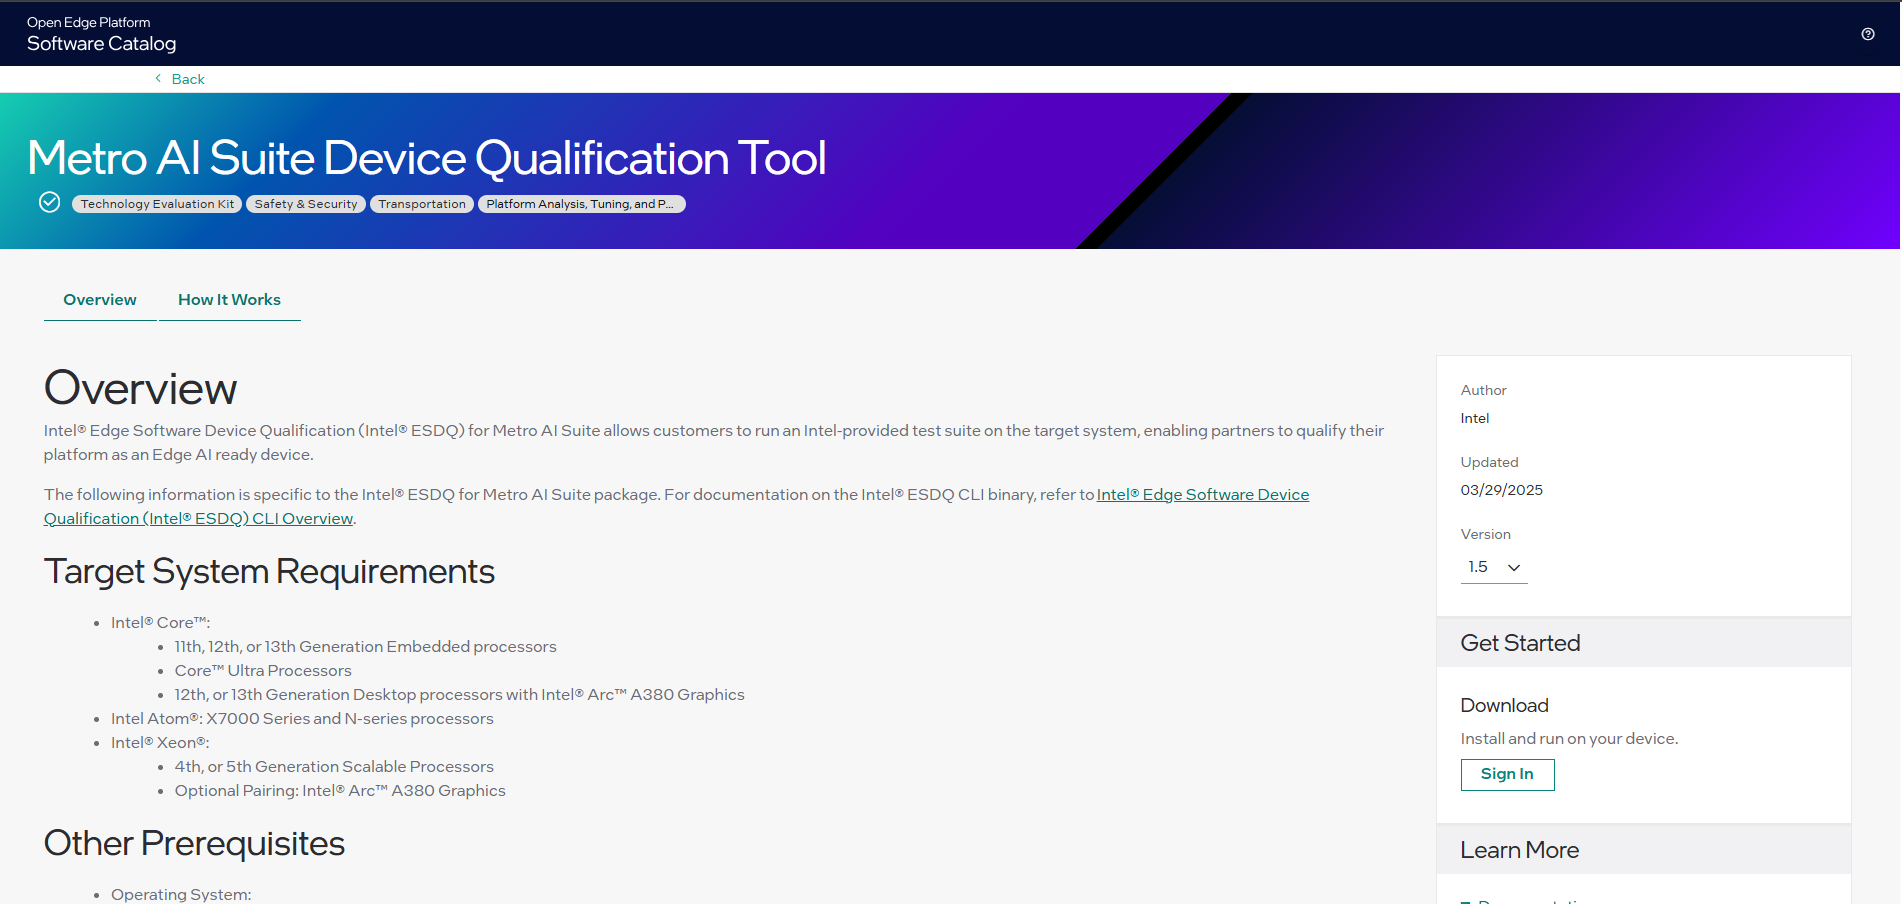
Figure 1: Signing-In 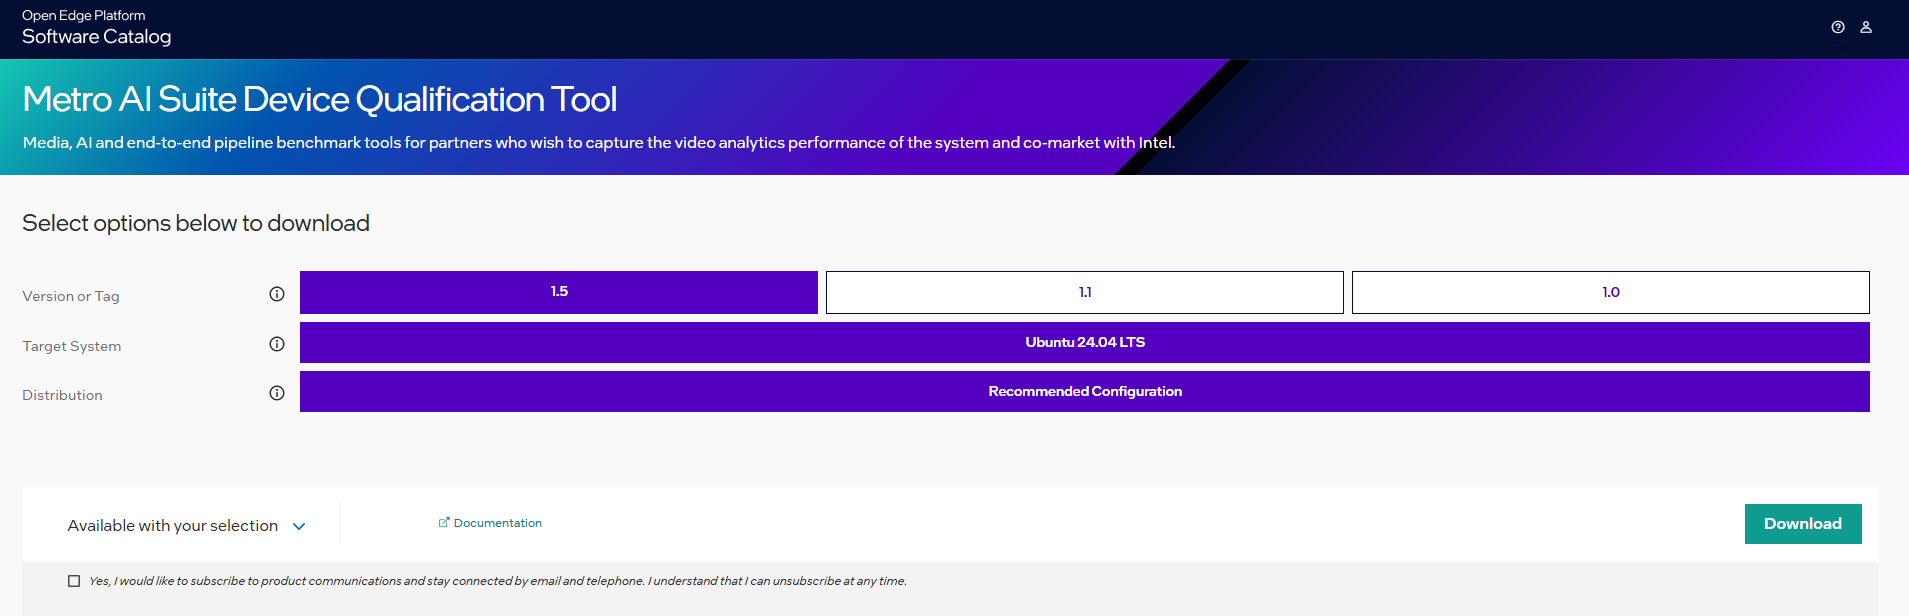
Figure 2: Configure and Download Click Download. In the next screen, accept the license agreement and copy the Product Key.
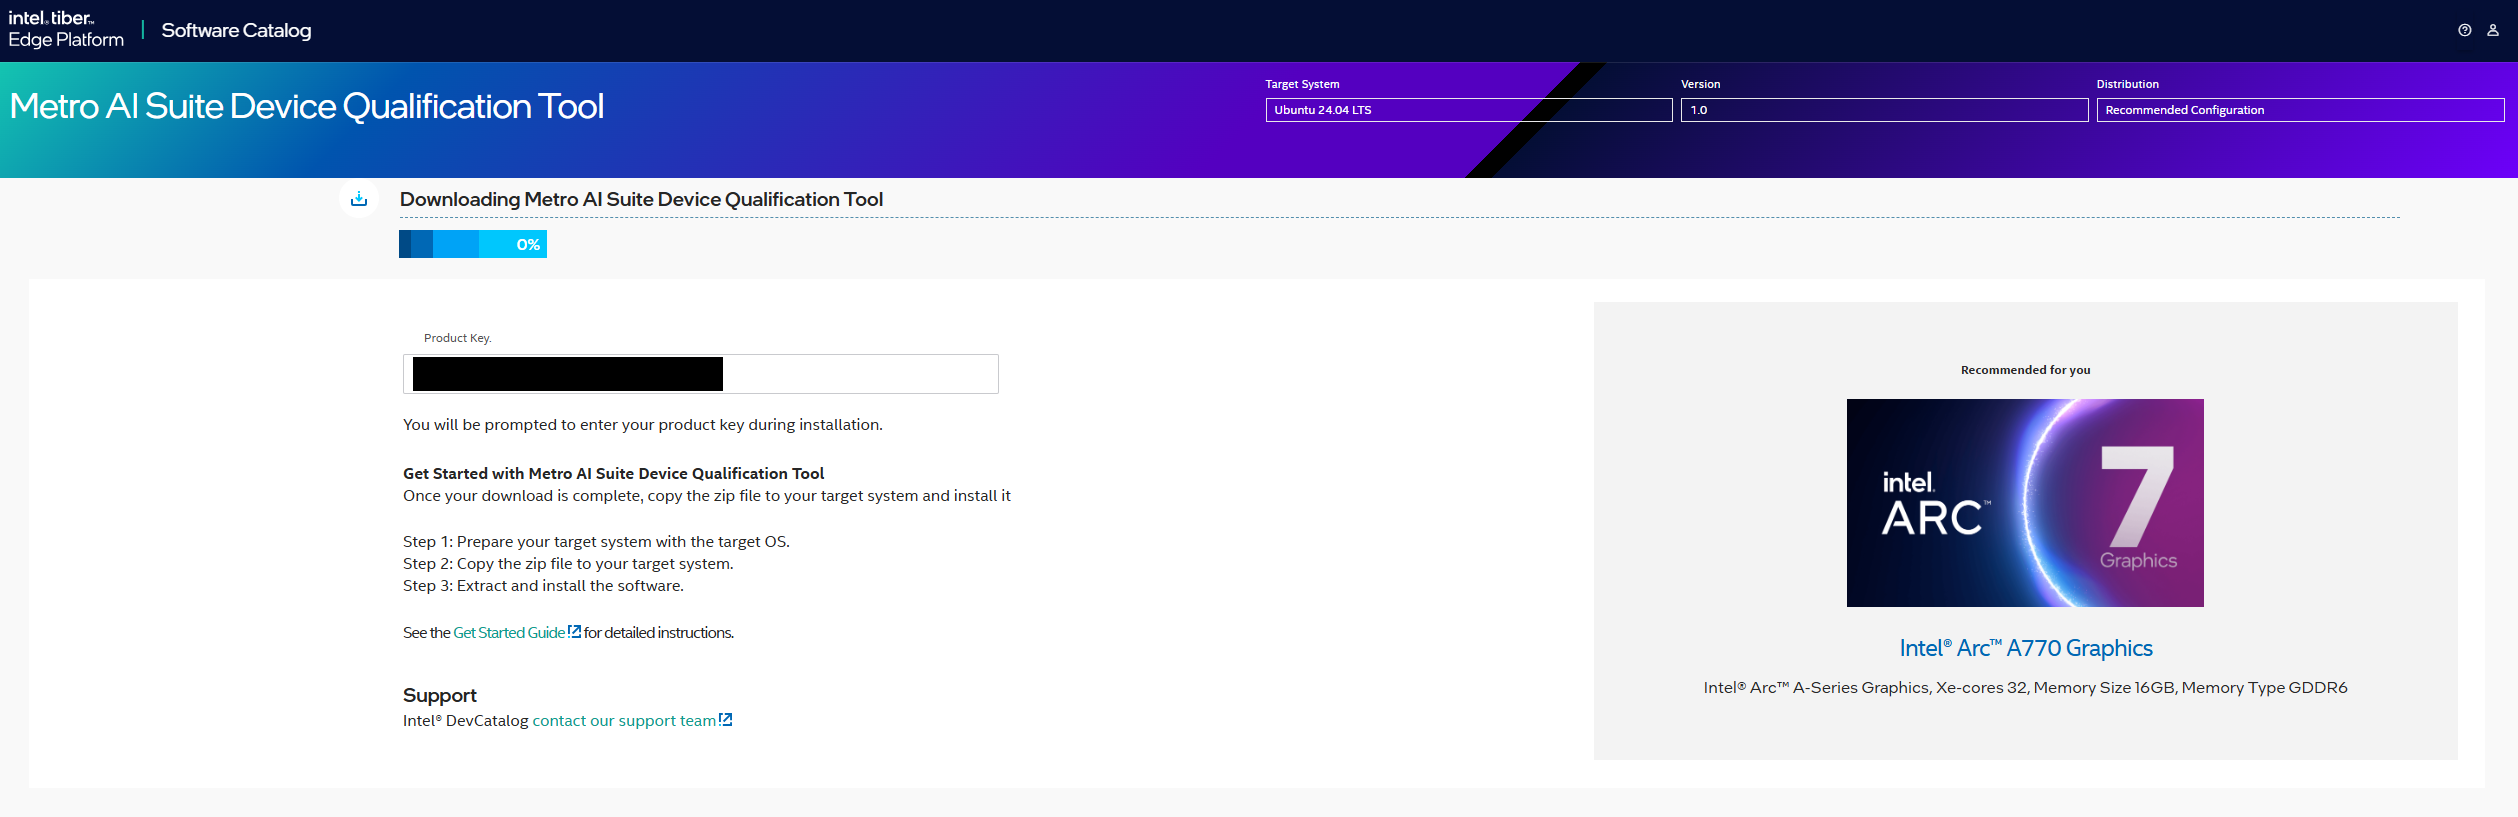
Figure 3: Product Key in Download Page Transfer the downloaded package to the target Ubuntu* system and unzip:
unzip Metro_AI_Suite_Device_Qualification.zipGo to the
Metro_AI_Suite_Device_Qualification/directory:cd Metro_AI_Suite_Device_Qualification
Change permission of the executable
edgesoftwarefile:chmod 755 edgesoftware
For Atom and Core platform, if your OS kernel is 6.5.0-35-generic, check if ‘echo $LC_IDENTIFICATION’ does show *UTF-8. If no, then proceed the following steps:
sudo apt-get install locales -y
sudo locale-gen en_US.UTF-8
sudo update-locale LANG=en_US.UTF-8 LC_CTYPE=en_US.UTF-8 LC_IDENTIFICATION=en_US.UTF-8
sudo reboot
Install the Metro AI Suite Device Qualification Tool package:
sudo apt install python3.12-venv
cd Metro_AI_Suite_Device_Qualification
python3 -m venv venv
./edgesoftware install
When prompted, enter the Product Key. You can enter the Product Key mentioned in the email from Intel confirming your download (or the Product Key you copied in Step 2).
Note for People’s Republic of China (PRC) Network:
If you are connecting from the PRC network, the following prompt will appear before downloading the modules
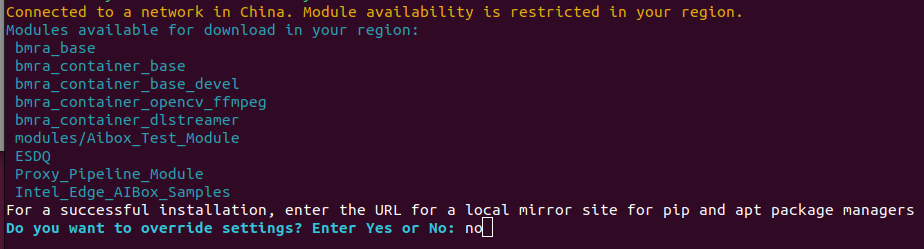
Figure 3: Prompt to Enable PRC Network Type No to use the default settings, or yes to enter the local mirror URL for pip and apt package managers.
Similar prompt will appear during bmra base installation:

Figure 4: Prompt to Enable PRC Network Mirror Type Yes, to avoid download failure in the PRC network, some follow up prompts will appear.
Type No to use the default GitHub mirror and Docker hub mirror.
If you want to enable RDM and XPU Manager under PRC network, you need to type Yes to enter an available Docker hub mirror
Figure 5: Prompt to Access Proxy Server for Installation on PRC Network Then you can choose whether to install XPU Manager, if you type yes, please make sure you have replaced the default Docker hub mirror in previous step:

Figure 6: Prompt to Enable XPU Manager on PRC Network The following prompt will appear, type yes to use default Github mirror:

Figure 7: Prompt to change GitHub mirror on PRC Network
For Atom and Core platform, it will prompt to reboot the system if your kernel is not 6.5.0.35-generic. After rebooting the system, go to step 6 again to check $LC_IDENTIFICATION. Then install again with command
./edgesoftware installWhen prompted to reboot the machine, press Enter. Ensure to save your work before rebooting.

Figure 10: Prompt to Reboot After rebooting, resume the installation:
cd Metro_AI_Suite_Device_Qualification
./edgesoftware install
After the ESDQ is installed, you will be prompted for the password. Enter the password to proceed.

Figure 11: Prompt for Password When the installation is complete, you will see the message “Installation of package complete” and the installation status for each module.
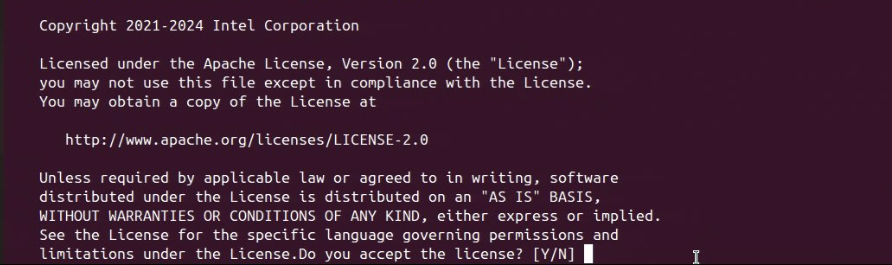
Figure 12: EEF Lincense Agreement 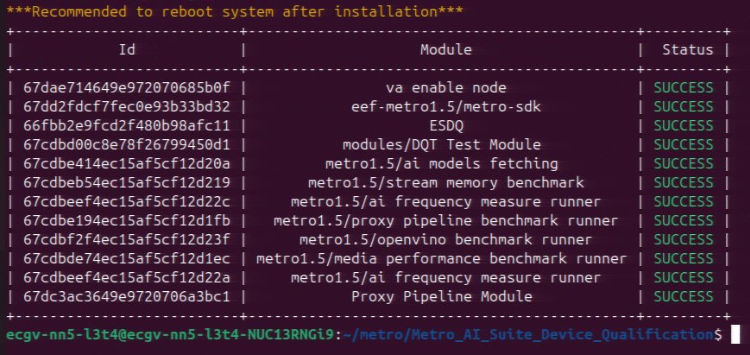
Figure 13: Installation Complete Message Reboot the system:
sudo reboot
Next Step#
Refer to Run Application Section on how to run ESDQ.
Known Issues#
[QIR-340]:on Intel® Xeon® + Intel® Arc™ A770 platform, OpenVINO™ performance is low compared with AIBOX4.0 OV performance on 12th generation processors + Intel® Arc™ A770 platform.
Troubleshooting#
As the system is being automatically updated in the background, you may encounter the following errors:
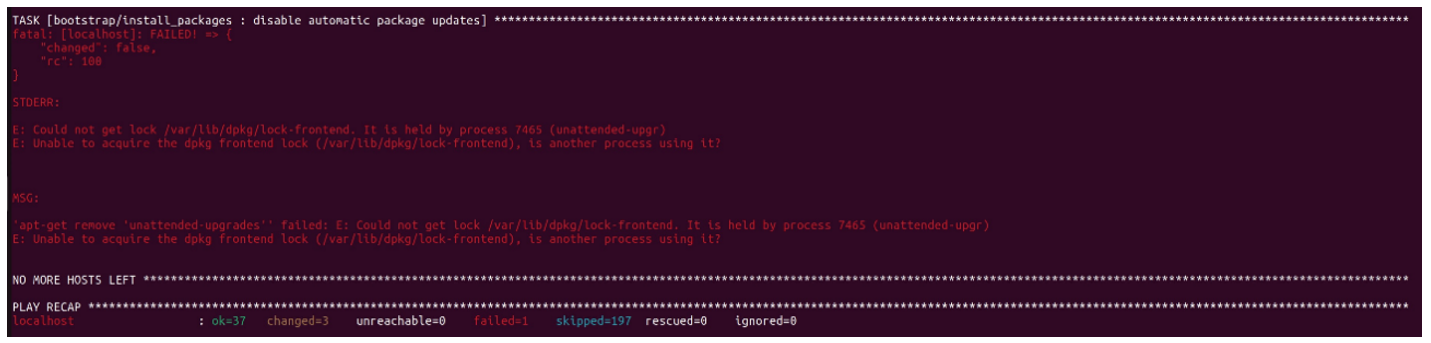
Figure 13: Example Error 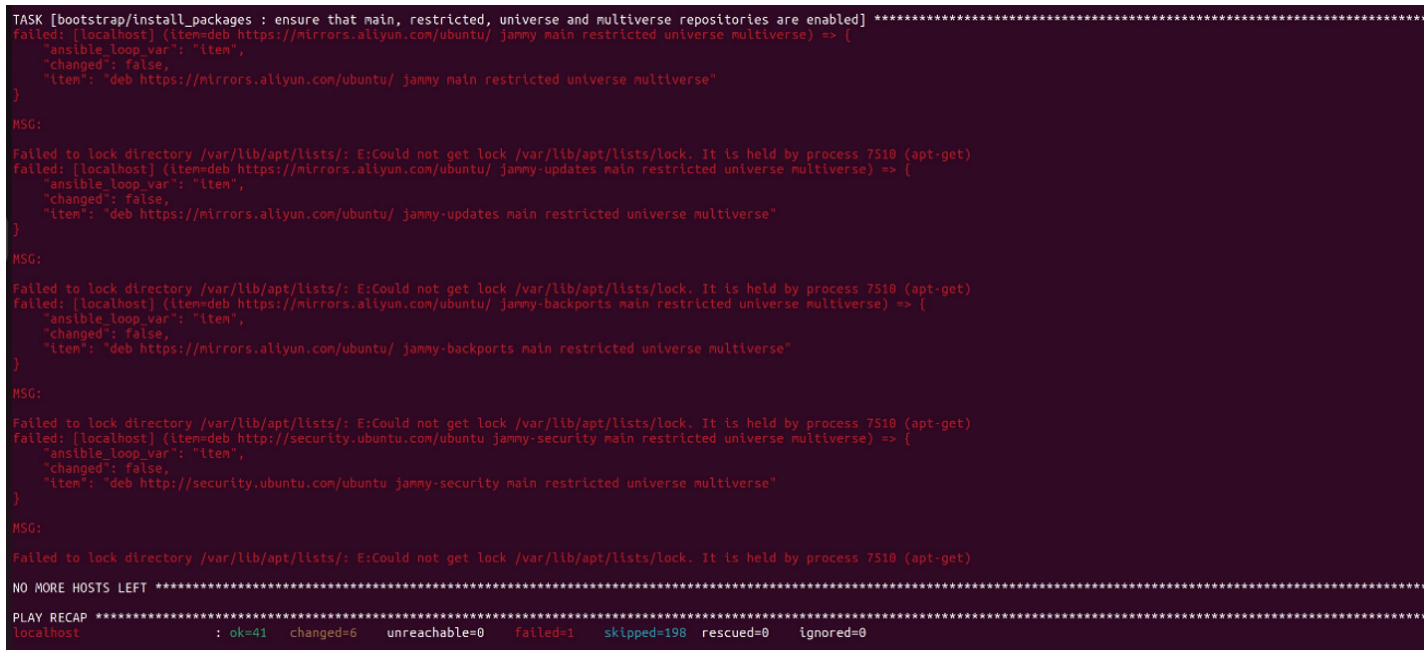
Figure 14: Example Error To resolve this issue, reboot and manually update the system. Then, rerun the installation:
sudo reboot
sudo apt update
./edgesoftware install
If the network quality is poor, you may encounter the following error:
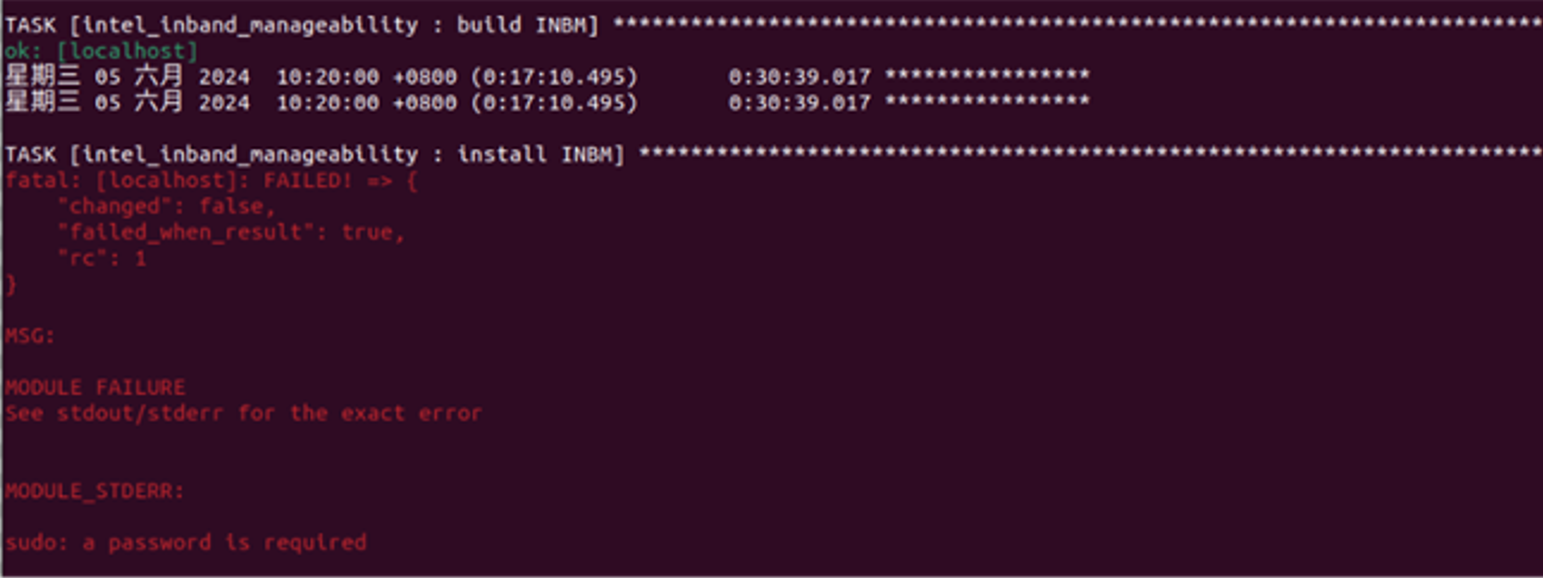
Figure 15: Example Error To resolve this issue, you can configure to run sudo without entering a password before installing:
sudo visudo
Navigate to “# User privilege specification” section and add the following line to grant the current user sudo privileges without requiring a password:
bash USER ALL=(ALL) NOPASSWD: ALL
Please replace USER with your actual username.
After adding the line, save and exit, then reinstall the package.
If you are facing “output” folder write permission issue, please give required access permission and rerun the test. Deleting will also help to recover the problem, but please note the previous results cant be recovered.
If ESDQ package installation failed, please reinstall it
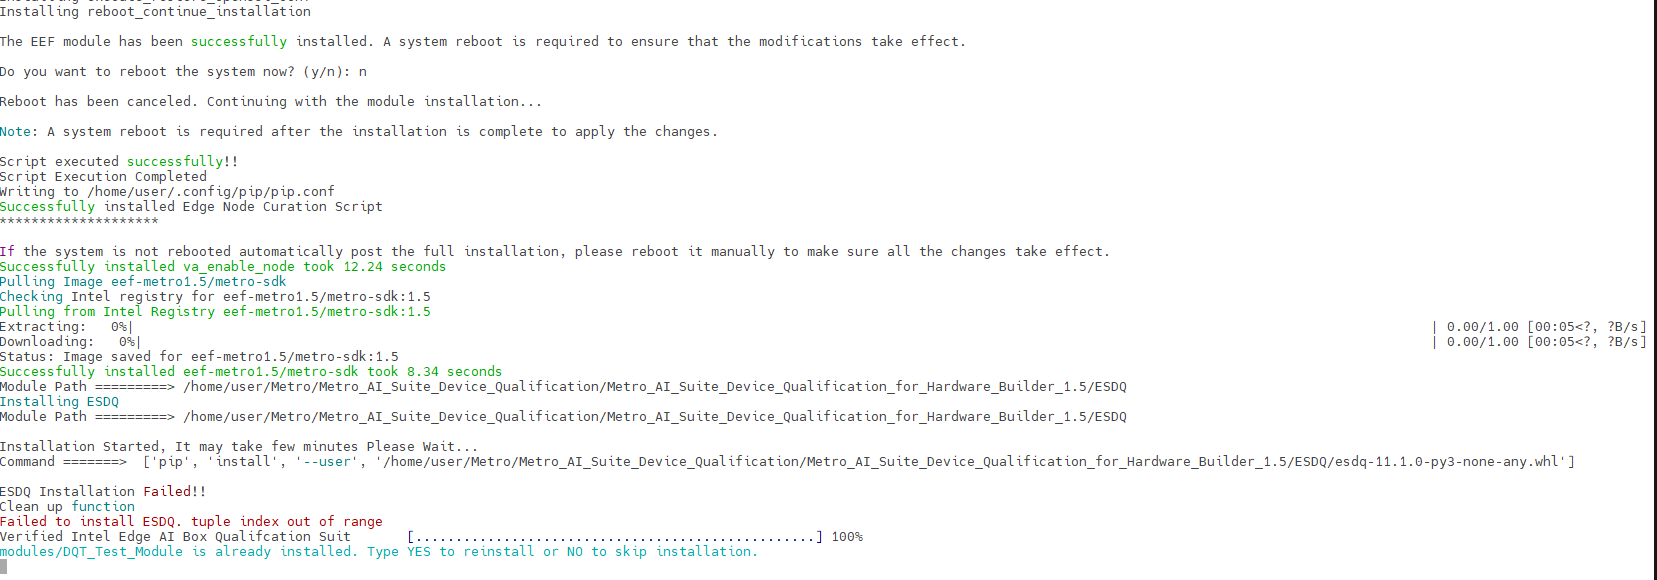
Figure 16: ESDQ Package Failure OpenVino Test Suite Failed to Run AI models download might be failed during installation time due to NW glitches or slowness. Please try download them manually by following the steps,
Ensure the ai_models_fetching docker image is available. If not, build the container using below command,
./modules/DQT_Test_Module/src/openvino_benchmark/ai_model_fetching/build_container.sh
Run the script to download the models manually,
./modules/DQT_Test_Module/src/openvino_benchmark/ai_model_fetching/get_ai_models.sh
Ensure the models are dowloaded successfully,
ls -l ~/share/models/public
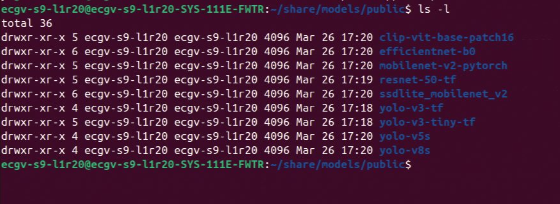
Figure 17: AI Models Now rerun the Openvino Test Cases, sample below
esdq --verbose module run metro-device-qualification --arg "-r OVRunner -d GPU.0 -t 180"
Frequency Runner Test Suite failed when running full suite where the system has iGPU & dGPU, Run the Frequency Runner Test individually for iGPU & dGPU separately,
esdq --verbose module run metro-device-qualification --arg "-r FreqRunner -d GPU.0 -t 1"
esdq --verbose module run metro-device-qualification --arg "-r FreqRunner -d GPU.1 -t 1"
If you’re unable to resolve your issues, contact the Support Forum
Release Notes#
Current Version: 1.5.1
New in This Release
Integrated Edge Device Enablement Framework (EEF) Base Platform BKC.
Openvino-2025.0.0 integrated.
Following Models removed from OpenVino Benchmark Runner yolo-v3-tiny-tf yolo-v4-tf yolo-v3-tf yolo-v4-tiny-tf yolo-v5n yolo-v5m yolo-v8n
Bug Fixes