Manage Pipeline#
This section describes how to create custom AI pipelines for the reference implementation and the commands to manage these pipelines.
Create Pipelines#
The AI pipelines are defined by the evam_config.json file present in the helm chart.
The following is an example of the pallet defect detection pipeline, which is included in the evam_config.json file.
     "pipelines": [
        {
            "name": "pallet_defect_detection_2",
            "source": "gstreamer",
            "queue_maxsize": 50,
            "pipeline": "{auto_source} name=source ! decodebin ! videoconvert ! video/x-raw,format=RGB ! udfloader name=udfloader ! gvametaconvert add-empty-results=true name=metaconvert ! gvametapublish name=destination ! appsink name=appsink",
            "parameters": {
                "type": "object",
                "properties": {
                    "udfloader": {
                        "element": {
                            "name": "udfloader",
                            "property": "config",
                            "format": "json"
                        },
                        "type": "object"
                    }
                }
            },
            "auto_start": false,
            "publish_frame": true,
            "udfs": {
                "udfloader": [
                    {
                        "name": "python.geti_udf.geti_udf",
                        "type": "python",
                        "device": "CPU",
                        "visualize": "true",
                        "deployment": "./resources/models/geti/pallet_defect_detection/deployment",
                        "metadata_converter": "null"
                    }
                ]
            }
        },
Customize the pipeline according to your needs. For details, see the following Edge Video Analytics Microservice documentation:
Start the Pipeline#
Follow this procedure to start the pipeline.
In the evam_config.json file in the helm chart, identify the name of the pipeline you want to start.
The name of the pipeline is defined by the name parameter.
 "pipelines": [
     {
           "name": "pipeline_name",
           "source": "....",
           "pipeline": "...."
           "..."
     }
  ]
You use a Client URL (cURL) command to start the pipeline.
In this example, a pipeline included in this reference implementation is pallet_defect_detection_2. Start this pipeline with the following cURL command.
     curl http://localhost:30107/pipelines/user_defined_pipelines/pallet_defect_detection_2 -X POST -H 'Content-Type: application/json' -d '{
        "source": {
           "uri": "file:///home/pipeline-server/resources/videos/warehouse.avi",
           "type": "uri"
        },
        "parameters": {
           "udfloader": {
              "udfs": [
                 {
                       "name": "python.geti_udf.geti_udf",
                       "type": "python",
                       "device": "CPU",
                       "visualize": "true",
                       "deployment": "./resources/models/geti/pallet_defect_detection/deployment",
                       "metadata_converter": "null"
                 }
              ]
           }
        }
     }'
Take note of the instance ID (without quotes).
Each pipeline has its instance ID. You will need the instance ID to stop the pipeline later.
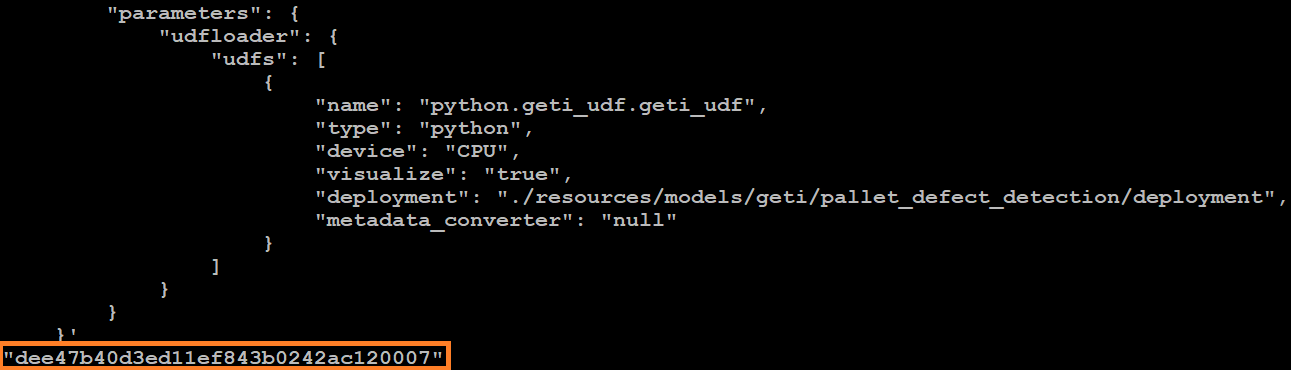
Figure 1: Example of a pipeline instance ID
Get Statistics of the Running Pipelines#
Request the pipeline statistics with this cURL command.
Replace HOST_IP with the IP address of your system.
curl --location -X GET http://<HOST_IP>:30107/pipelines/status
Stop the Pipeline#
Stop the pipeline with the following cURL command.
Replace HOST_IP with the IP address of your system and instance_id with the instance ID (without quotes) of the running pipeline.
curl --location -X DELETE http://<HOST_IP>:30107/pipelines/{instance_id}
Note
The instance ID is shown in the Terminal when the pipeline was started or when pipeline statistics was requested.