Troubleshooting#
ESH Installation issues#
This section provides information about troubleshooting and resolving installation-related issues.
Ensure that you have an active internet connection during the full installation. If you lose Internet connectivity at any time, the installation might fail.
If the installation gets stuck at some point then press
Enterkey to continue.If the Intel® Edge Insights System installer component fails to install after running the
./edgesoftware installcommand, then do the following:
Check the list of the running containers using the following command:
docker psCheck the logs of the failing containers to find the reason for the issue.
Note: Services such as DataStore, Visualizer etc., will fail, if the port is already used by other processes on the host machine as Intel® Edge Insights System uses docker host network. Ensure to free up that port and rerun the
./edgesoftware installcommand or do the following:Go to
edge_insights_system/IntelR_Edge_Insights_System_<version>/IEdgeInsights/buildwhere
indicates the downloaded version Standard or Enhanced of Intel® Edge Insights System. Run the following command to relaunch services:
sudo sg docker -c docker compose up -d
Following are the instruction to synchronizing the system clock with network time servers using
systemd-timesyncd.Installation:
sudo apt update
sudo apt install systemd-timesyncd
Configuration: Start the
systemd-timesyncdservice:sudo systemctl start systemd-timesyncd
Enable
systemd-timesyncdto start automatically on boot:sudo systemctl enable systemd-timesyncd
Check the status of
systemd-timesyncd:sudo systemctl status systemd-timesyncd
(Optional) Configure NTP servers: Modify the NTP option under the [Time] section to specify NTP server addresses.
This configuration change would be required when machine is running behind a proxy server and need to connect to a different ntp server in their corporate network
sudo nano /etc/systemd/timesyncd.conf
[Time]
NTP=<ntp_server_url>
Restart
systemd-timesyncdif configuration changes were made:sudo systemctl restart systemd-timesyncd
Verification: Check the synchronization status:
timedatectl
Docker Image Pull Issue#
This issue occurs due to the latest pull rate limitations introduced by Docker Hub.
Check this Docker site article to help determine the exact pull limit that’s applicable on the system where you are trying to pull the publicly available Docker Hub images, such as Docker, Python, etc.
Note: This limit is only applicable for the 6-hour window.
If this issue occurs for an anonymous user (without Docker login and with pull limit of 100), you can create an account and try to do the build after running the following command:
docker login -u <username> -p <password>
The alternative is to use a paid subscription.
If you’re unable to resolve your issues, go to the Support Forum.
USB Basler Camera Troubleshooting#
Monochrome Image with Basler Camera#
The default pixel format for the Basler Camera is mono8. Users can change the pixel format accordingly.
Solution: Configure the GenICam camera’s pixel format parameter to the required pixel format during the camera registration process. Refer to the GenICam Camera section in the User Guide document to make the configuration change. The user may have to delete the camera and add it as a fresh camera to make changes.
Please note the vision pipeline will not work properly if an incorrect pixel format is used.
Basler Camera Field of View Getting Resized#
The camera field of view getting resized is expected when a lower resolution is set using the parameter’s ‘height’ or ‘width’.
Solution: Configure the resolution (height and width) parameters for the GenICam camera to use the maximum supported resolution or completely remove height and width parameters in the pipeline. Refer to the GenICam Camera to make the configuration change. The user may have to delete the camera and add it as a fresh camera to make changes.
Note that using a higher resolution might have other side effects, like a lag issue in the pipeline, when the model is compute-intensive. The lag issue in the pipeline section provides more details.
Issue with Frame Processing Due to USB Buffer Size#
Solution: By default, USB-FS on Linux* systems allow only a 16 MB buffer limit, which might not be sufficient to work with high framerate, high-resolution cameras, and multiple camera setups. In such scenarios, configure USB-FS to increase the buffer memory limit for the USB3 vision camera. Execute the following steps on a terminal with root access:
echo 1000 > /sys/module/usbcore/parameters/usbfs_memory_mb
cat /sys/module/usbcore/parameters/usbfs_memory_mb
USB Basler Camera Not Detected at the First Time#
Solution: Execute the following steps on a terminal:
stat /dev/bus/usb
sudo usermod -a -G dialout $USER
~/pylon-5.1.0.12682-x86_64$ ./setup-usb.sh
sudo reboot
Video Looping Issue During Visualization#
If there is a physical disconnection/re-connection of the USB 3.0 Basler Camera during ingestion, frames will start looping during visualization.
Solution: Reconnect the USB camera and restart the project.
Balluff Camera Troubleshooting#
Balluff Camera Not Detected#
Solution: Install the Impact Acquire tool using the following steps.
Pre-requisite: Execute the following commands from a terminal:
sudo apt update
sudo apt-get install -y libwxbase3.0-0v5 \
libwxbase3.0-dev \
libwxgtk3.0-gtk3-0v5 \
libwxgtk3.0-gtk3-dev \
libwxgtk-webview3.0-gtk3-0v5 \
libwxgtk-webview3.0-gtk3-dev \
wx3.0-headers \
libgtk2.0-dev
sudo apt install gcc-12
Execute the following steps on a terminal:
    cd [WORK_DIR]/edge_insights_system/IntelR_Edge_Insights_System__<version>/IEdgeInsights/EdgeVideoAnalyticsMicroservice/thirdparty/balluff/
    ./ImpactAcquire-x86_64-linux-3.1.0.sh
Reference: https://assets.balluff.com/documents/DRF_957345_AA_000/mvBC_page_quickstart.html
Getting Balluff Camera Serial ID#
Solution: Refer Balluff Camera not detected section to install the Impact Acquire tool.
Refer Balluff Camera Not Detected section, to install the Impact Acquire tool.
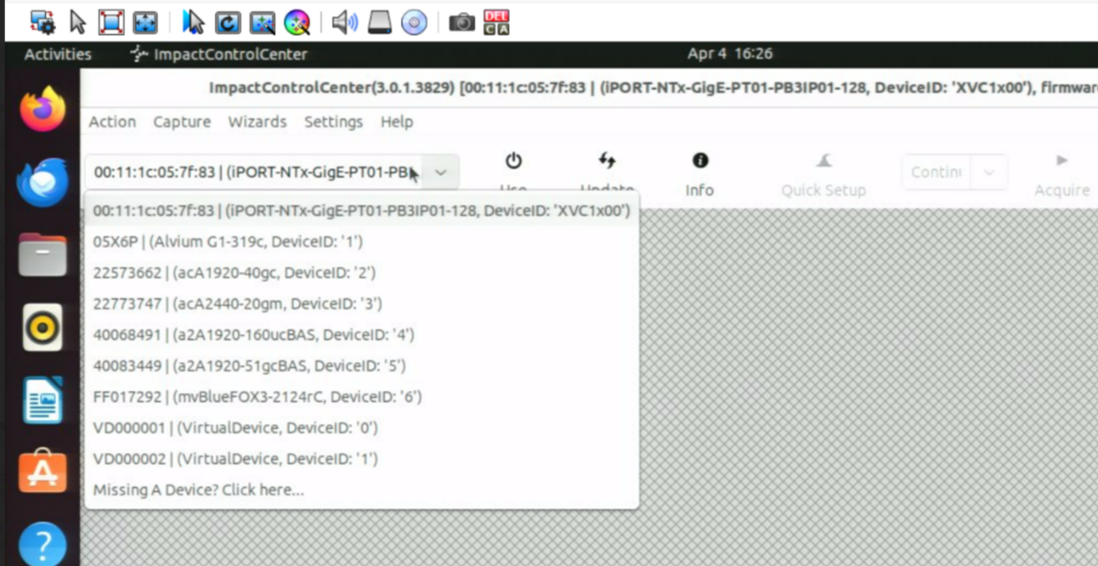
Open the Impact Acquire UI tool using the following commands from a command prompt:
    cd /opt/ImpactAcquire/apps/ImpactControlCenter/x86_64
    ./ImpactControlCenter
In the GUI, click on Action a Use Device a choose mvBlueFOX3 to find the serial number.
USB Camera (e.g. Web Camera) Troubleshooting#
USB Camera Not Detected#
The user may not have the required permission.
Solution: Execute the following steps on a terminal:
sudo chmod 777 /dev/video*
sudo chmod 777 /dev/media*
Xiris Camera Troubleshooting#
XVC-1000e40 (monochrome) Xiris camera is tested.
Only PixelDepth=8 (camera outputs 8 bits per pixel) is supported. For any frame rendering issues, please check the PixelDepth value from the logs and make sure it is set to 8 by power cycle of the camera or by setting the value in the Xiris GUI tool (currently available on Windows*).
If a wrong or invalid IP is provided for connecting to the Xiris camera using the XirisCameraIP env variable, ingestion will not work, and error logs will not be printed. Make sure the correct IP is provided for ingestion to work.
Enable Jumbo Packets#
The XeBus Runtime relies on Jumbo Packet support to ensure a successful camera connection and bandwidth. On most Linux* systems, this can be enabled by executing the following command on a terminal:
sudo ifconfig eth0 mtu 8194
The command above should replace
eth0with the name of the ethernet interface connected to the camera. This command applies a change that will be reset after rebooting.It is advised to permanently set the MTU of your ethernet adapter to persist through reboots. For more details, consult your Linux* distribution and/or ethernet device for the documentation.
Increase Socket Buffer Size#
With the large amount of data, a camera can stream, the socket to send/receive buffers must be sufficiently large. Execute the following steps on a terminal:
    sudo sysctl -w net.core.rmem_max=10485750
    sudo sysctl -w net.core.wmem_max=10485750
You can enable these changes permanently for your system by adding the following lines to the
/etc/sysctl.conffile:
    $ net.core.rmem_max=10485750
    $ net.core.wmem_max=10485750
MQTT Publish Issue#
The MQTT publish issue occurs due to 2 active ethernet ports. One port is connected to a network (e.g., eth0), and the other is to Xiris Camera (e.g., eth1).
With this configuration, the default network connectivity (IP) routes a few times and becomes the port where the Xiris camera is connected. In this case, the system gets isolated from the network.
Solution: Disable the ethernet port where Xiris is connected. Test the sudo apt update command on a terminal. Once the command is working fine, then enable the Xiris ethernet port.
Xiris Camera Not Detected#
During the initial camera registration process or project deployment, the Xiris camera is not detected by the system.
Solution: Power off and power on the Xiris camera.
Kindly refer to the manufacturer provided, i.e., Xiris User Guide, if the problem persists.
Resource Utilization#
Many parameters affect the system’s performance and result in observations like high resource consumption or lag in the camera display or project preview. The following are a few parameters:
Number of pipelines (i.e., number of inputs) executed.
Resolution, frame rate, type of camera (color or monochrome)
System configuration
Kindly configure the project for optimal output considering the system performance and requirements.
Heavy Memory Consumption#
In some scenarios, heavy memory consumption is observed by application modules like Edge Video Analytics Microservice.
Solution: Restart the EdgeVideoAnalyticsMicroservice container using the command docker restart ia_edge_video_analytics_microservice in the terminal for a single stream.
In case of multiple streams and EdgeVideoAnalyticsMicroservice container instances, use the command docker restart ia_edge_video_analytics_microservice<instance> from the terminal (for example, for instance 1, the command will be docker restart ia_edge_video_analytics_microservice1).
High CPU Utilization Issue#
Using a compute-intensive model might increase the overall CPU utilization of the system (expected behavior).
Solution 1: Decrease the Basler Camera framerate. To do this, use the frame-rate configurations available for the GenICam camera. Refer to the GenICam Camera section for more details. The user may have to delete the camera and add it as a fresh camera to make changes.
Solution 2: To reduce the CPU utilization, the inference workload can be offloaded to the GPU device, provided the system supports running inference on GPU. For this, please select the device type as AUTO or iGPU while registering the AI model.
Lag Issue in the Pipeline#
Using a compute-intensive model can also increase the inference time. Higher inference and pre-processing/post-processing times can lead to lag issues in the ingestion pipeline if the analytics throughput is less than the ingestion framerate.
Solution: Ingestion framerate can be reduced to prevent the frame from piling up.
Creating multi-instance and running multiple pipelines with a compute-intensive model will increase the inference time and the overall CPU usage.
Solution: Either the ingestion framerate must be reduced, or the model must be further optimized.
File Upload Error#
For file upload features (AI Model upload Intel® Geti™ or custom, File ingestion), the browser should have permission to access a folder. The file upload will fail in such a case.
Solution: Keep the file in a location where the browser has access.
UDF ModuleNotFound Error#
Solution: If the custom UDF/model name contains a whitespace character, UDF loading will fail and throw a ModuleNotFound error. Ensure the UDF name and model/UDF directory name do not contain a whitespace character.